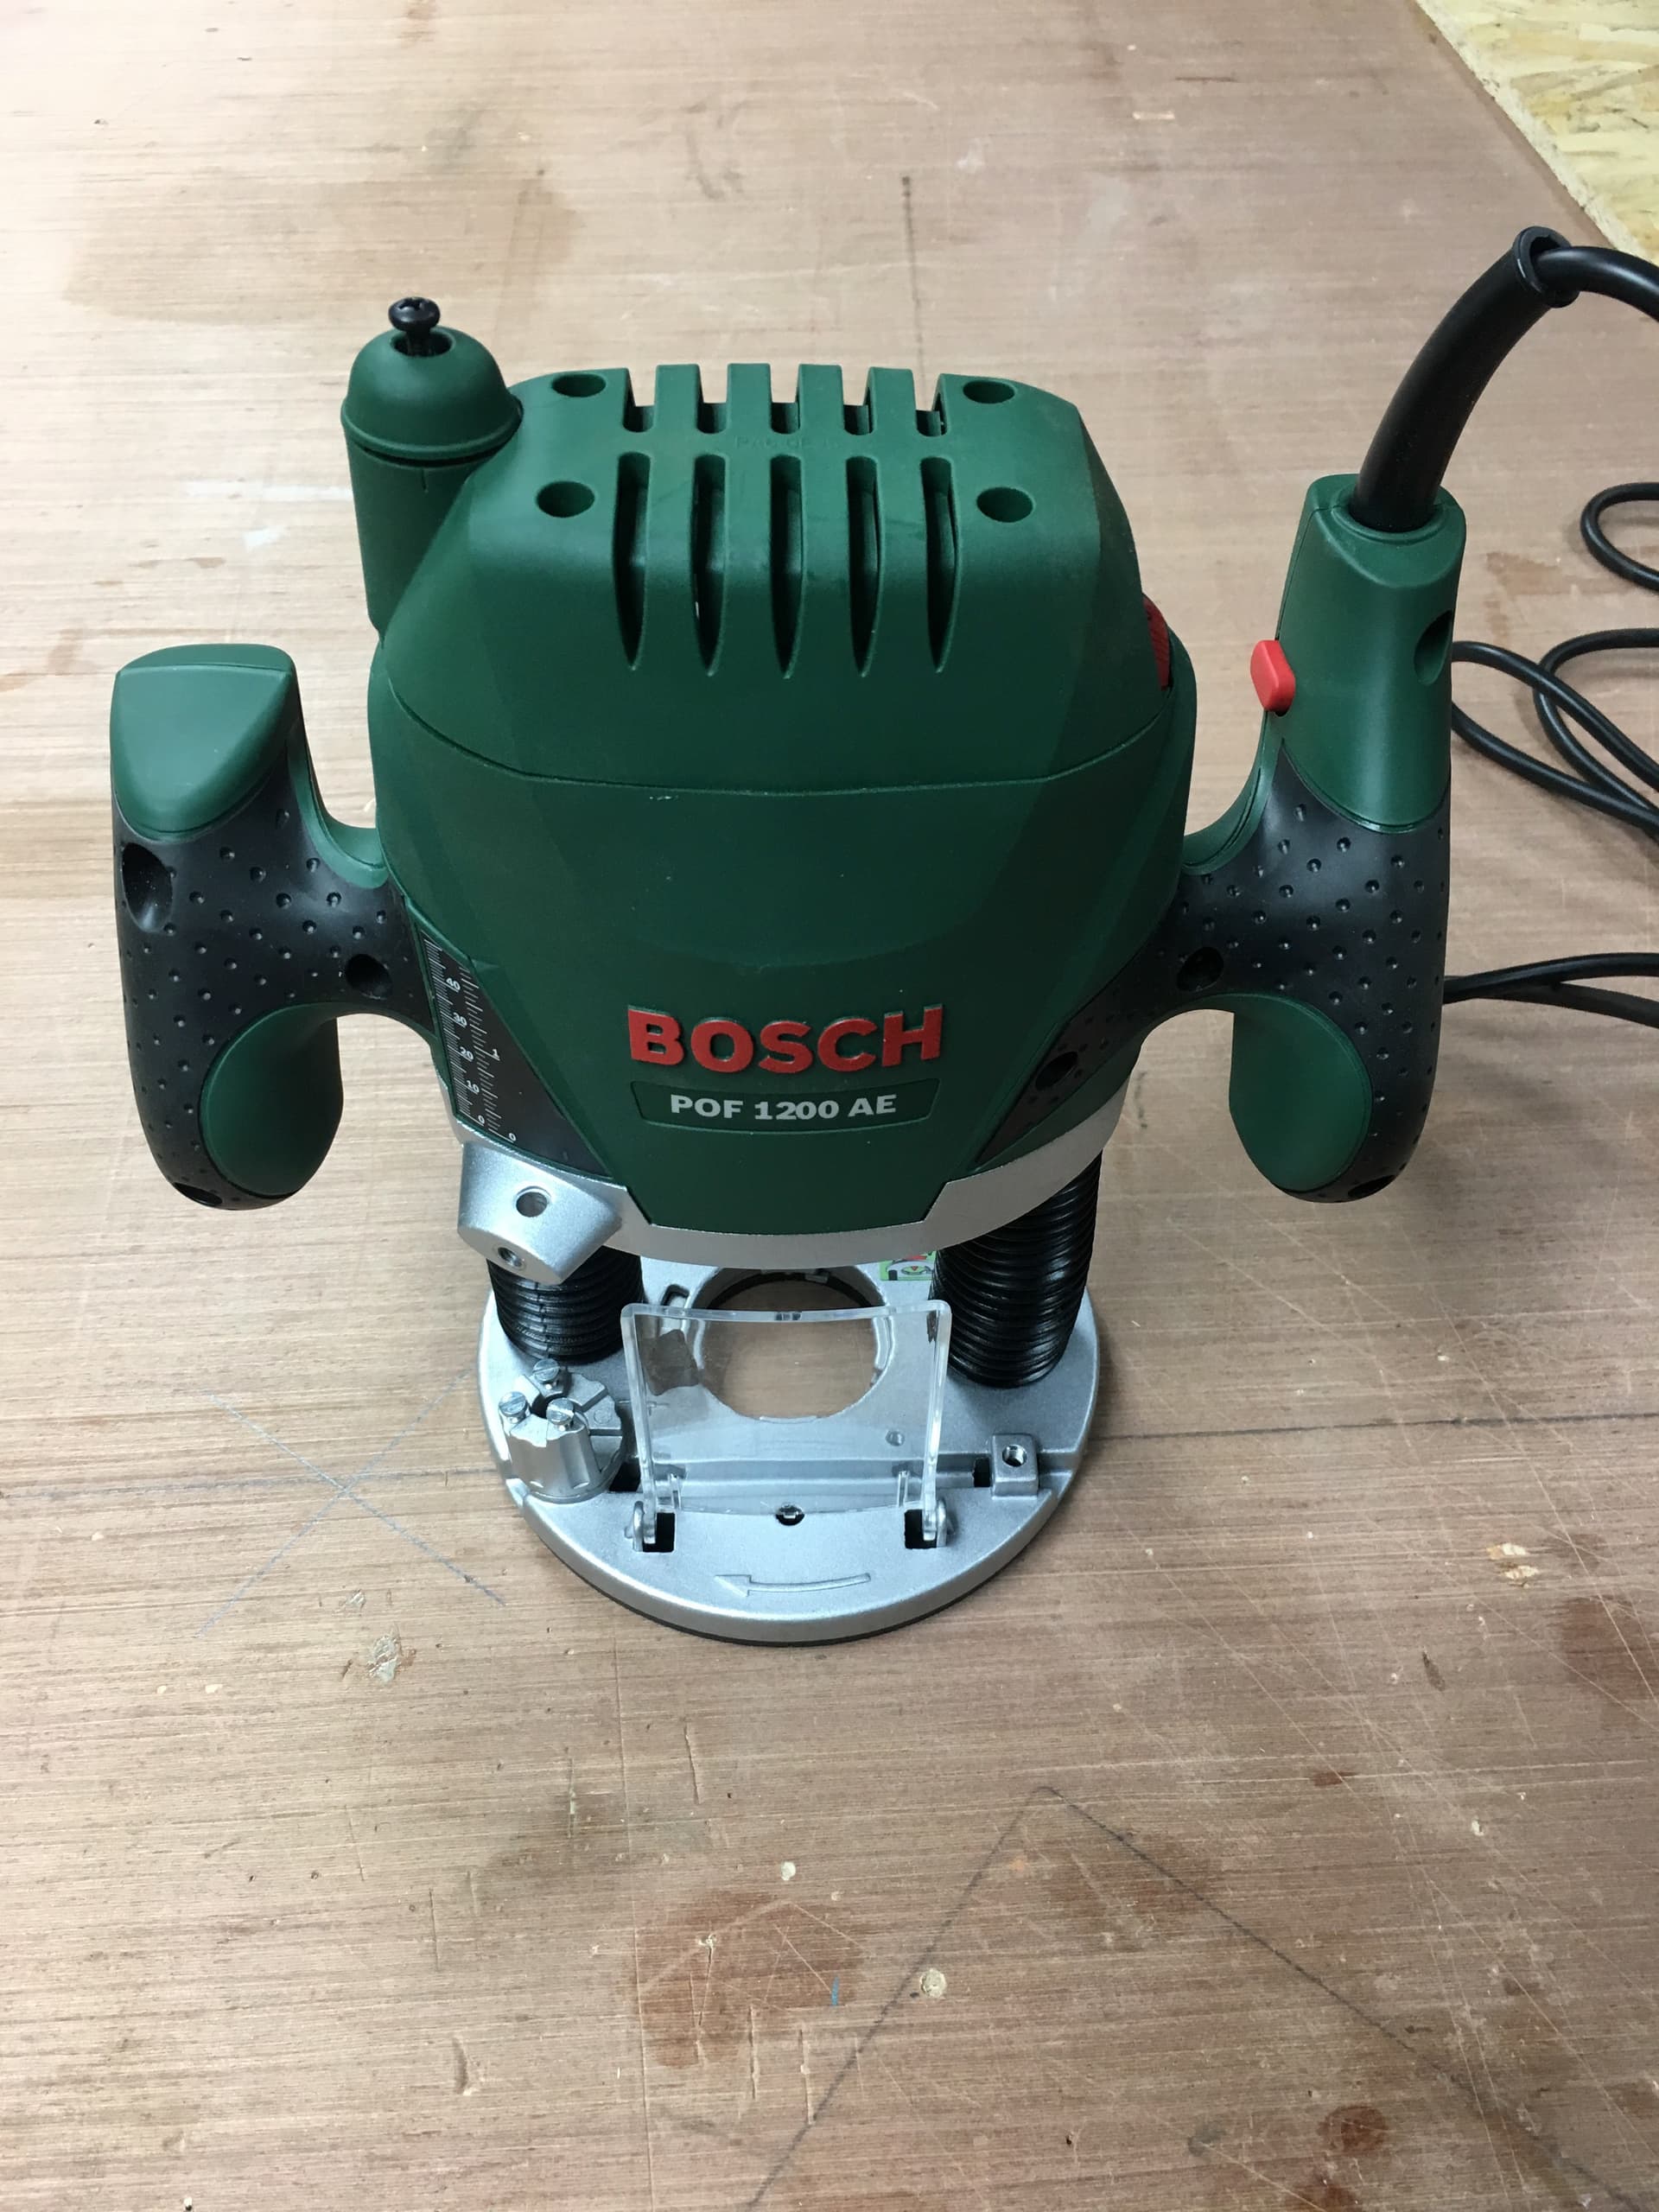
Maslow user @Dag83 created a thorough explanation on how to install the z-axis motor and modify a Bosch POF 1200 (or POF 1400) to fit in the ring.
You can find the files to print your own over here
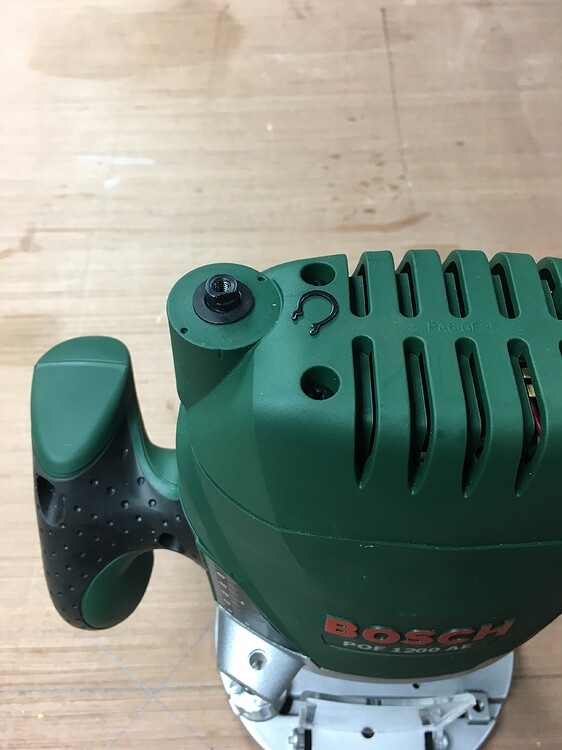
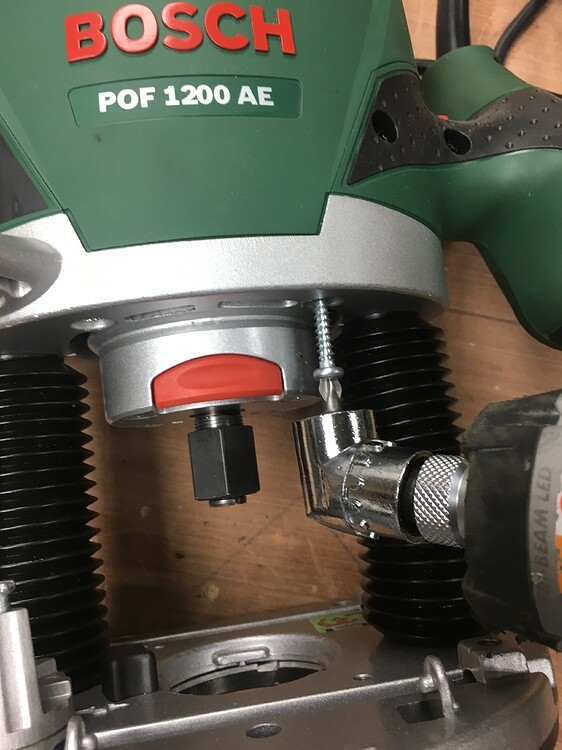
Remove the screw…
Pry off the clip with a screwdriver…
Remove 4 screws and take off the top cap…
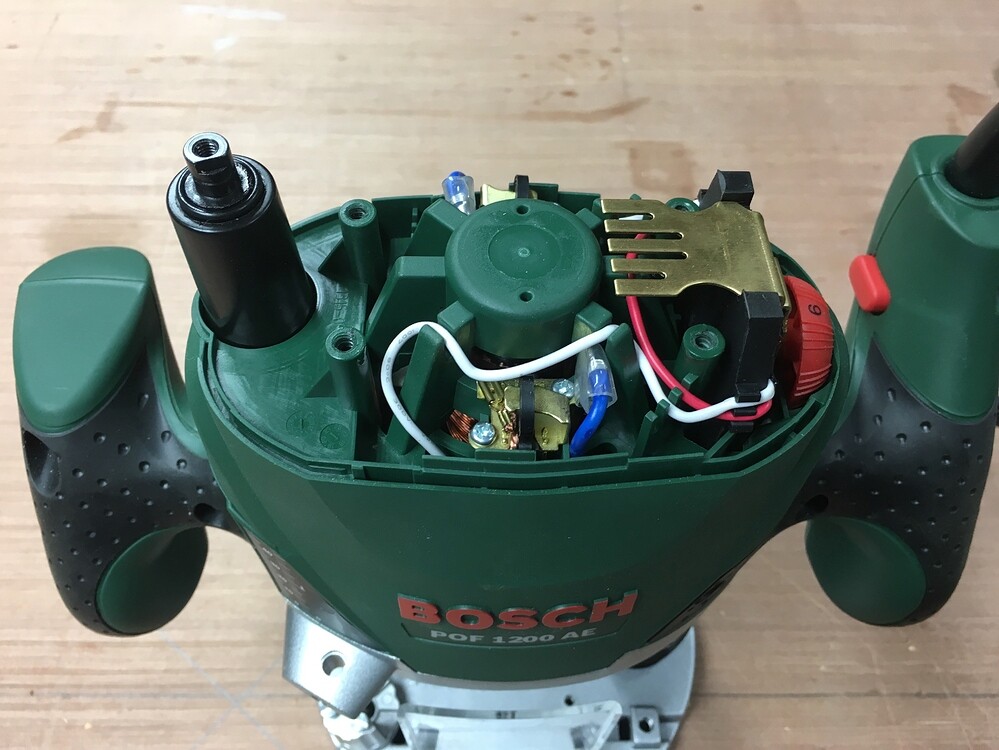
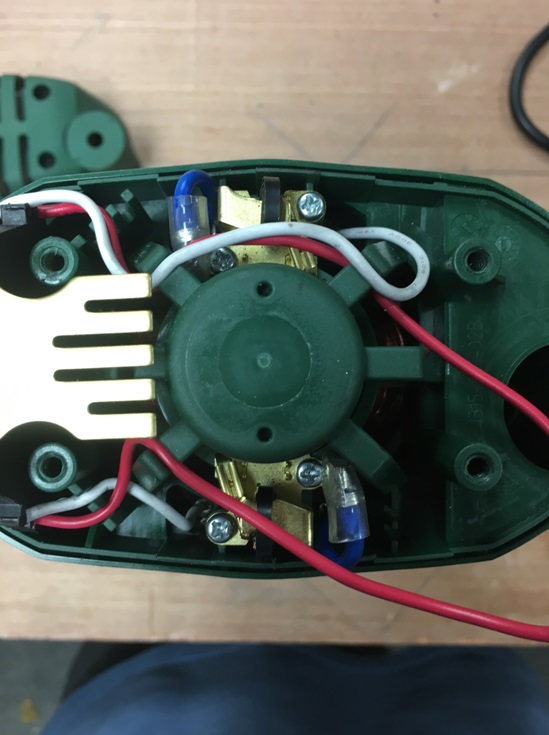
Remove blue wire connections from both sides…

Remove 4 small screws…
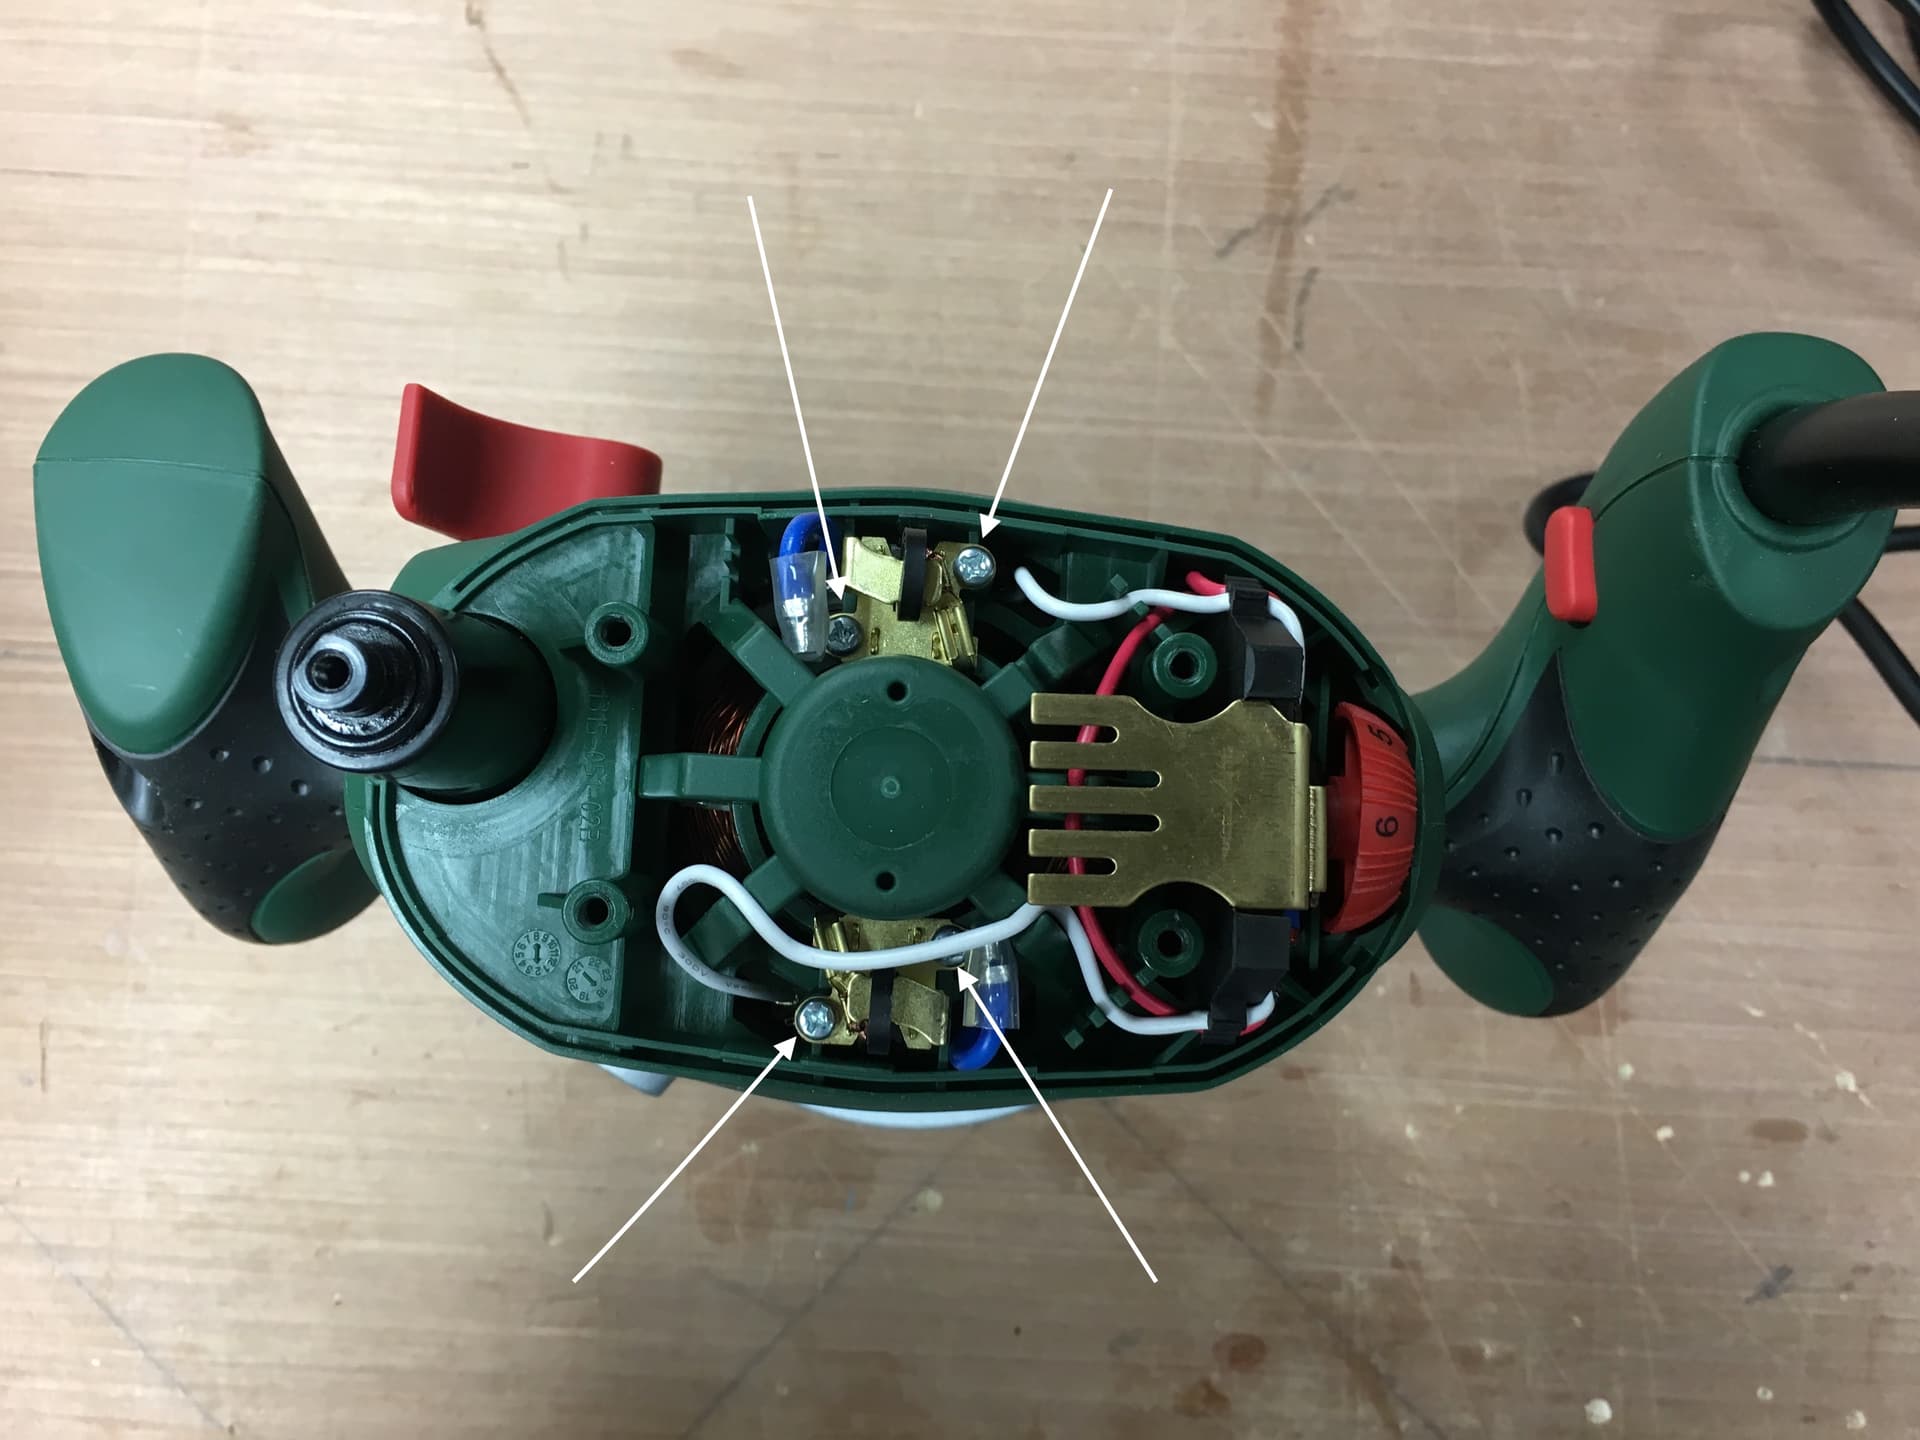
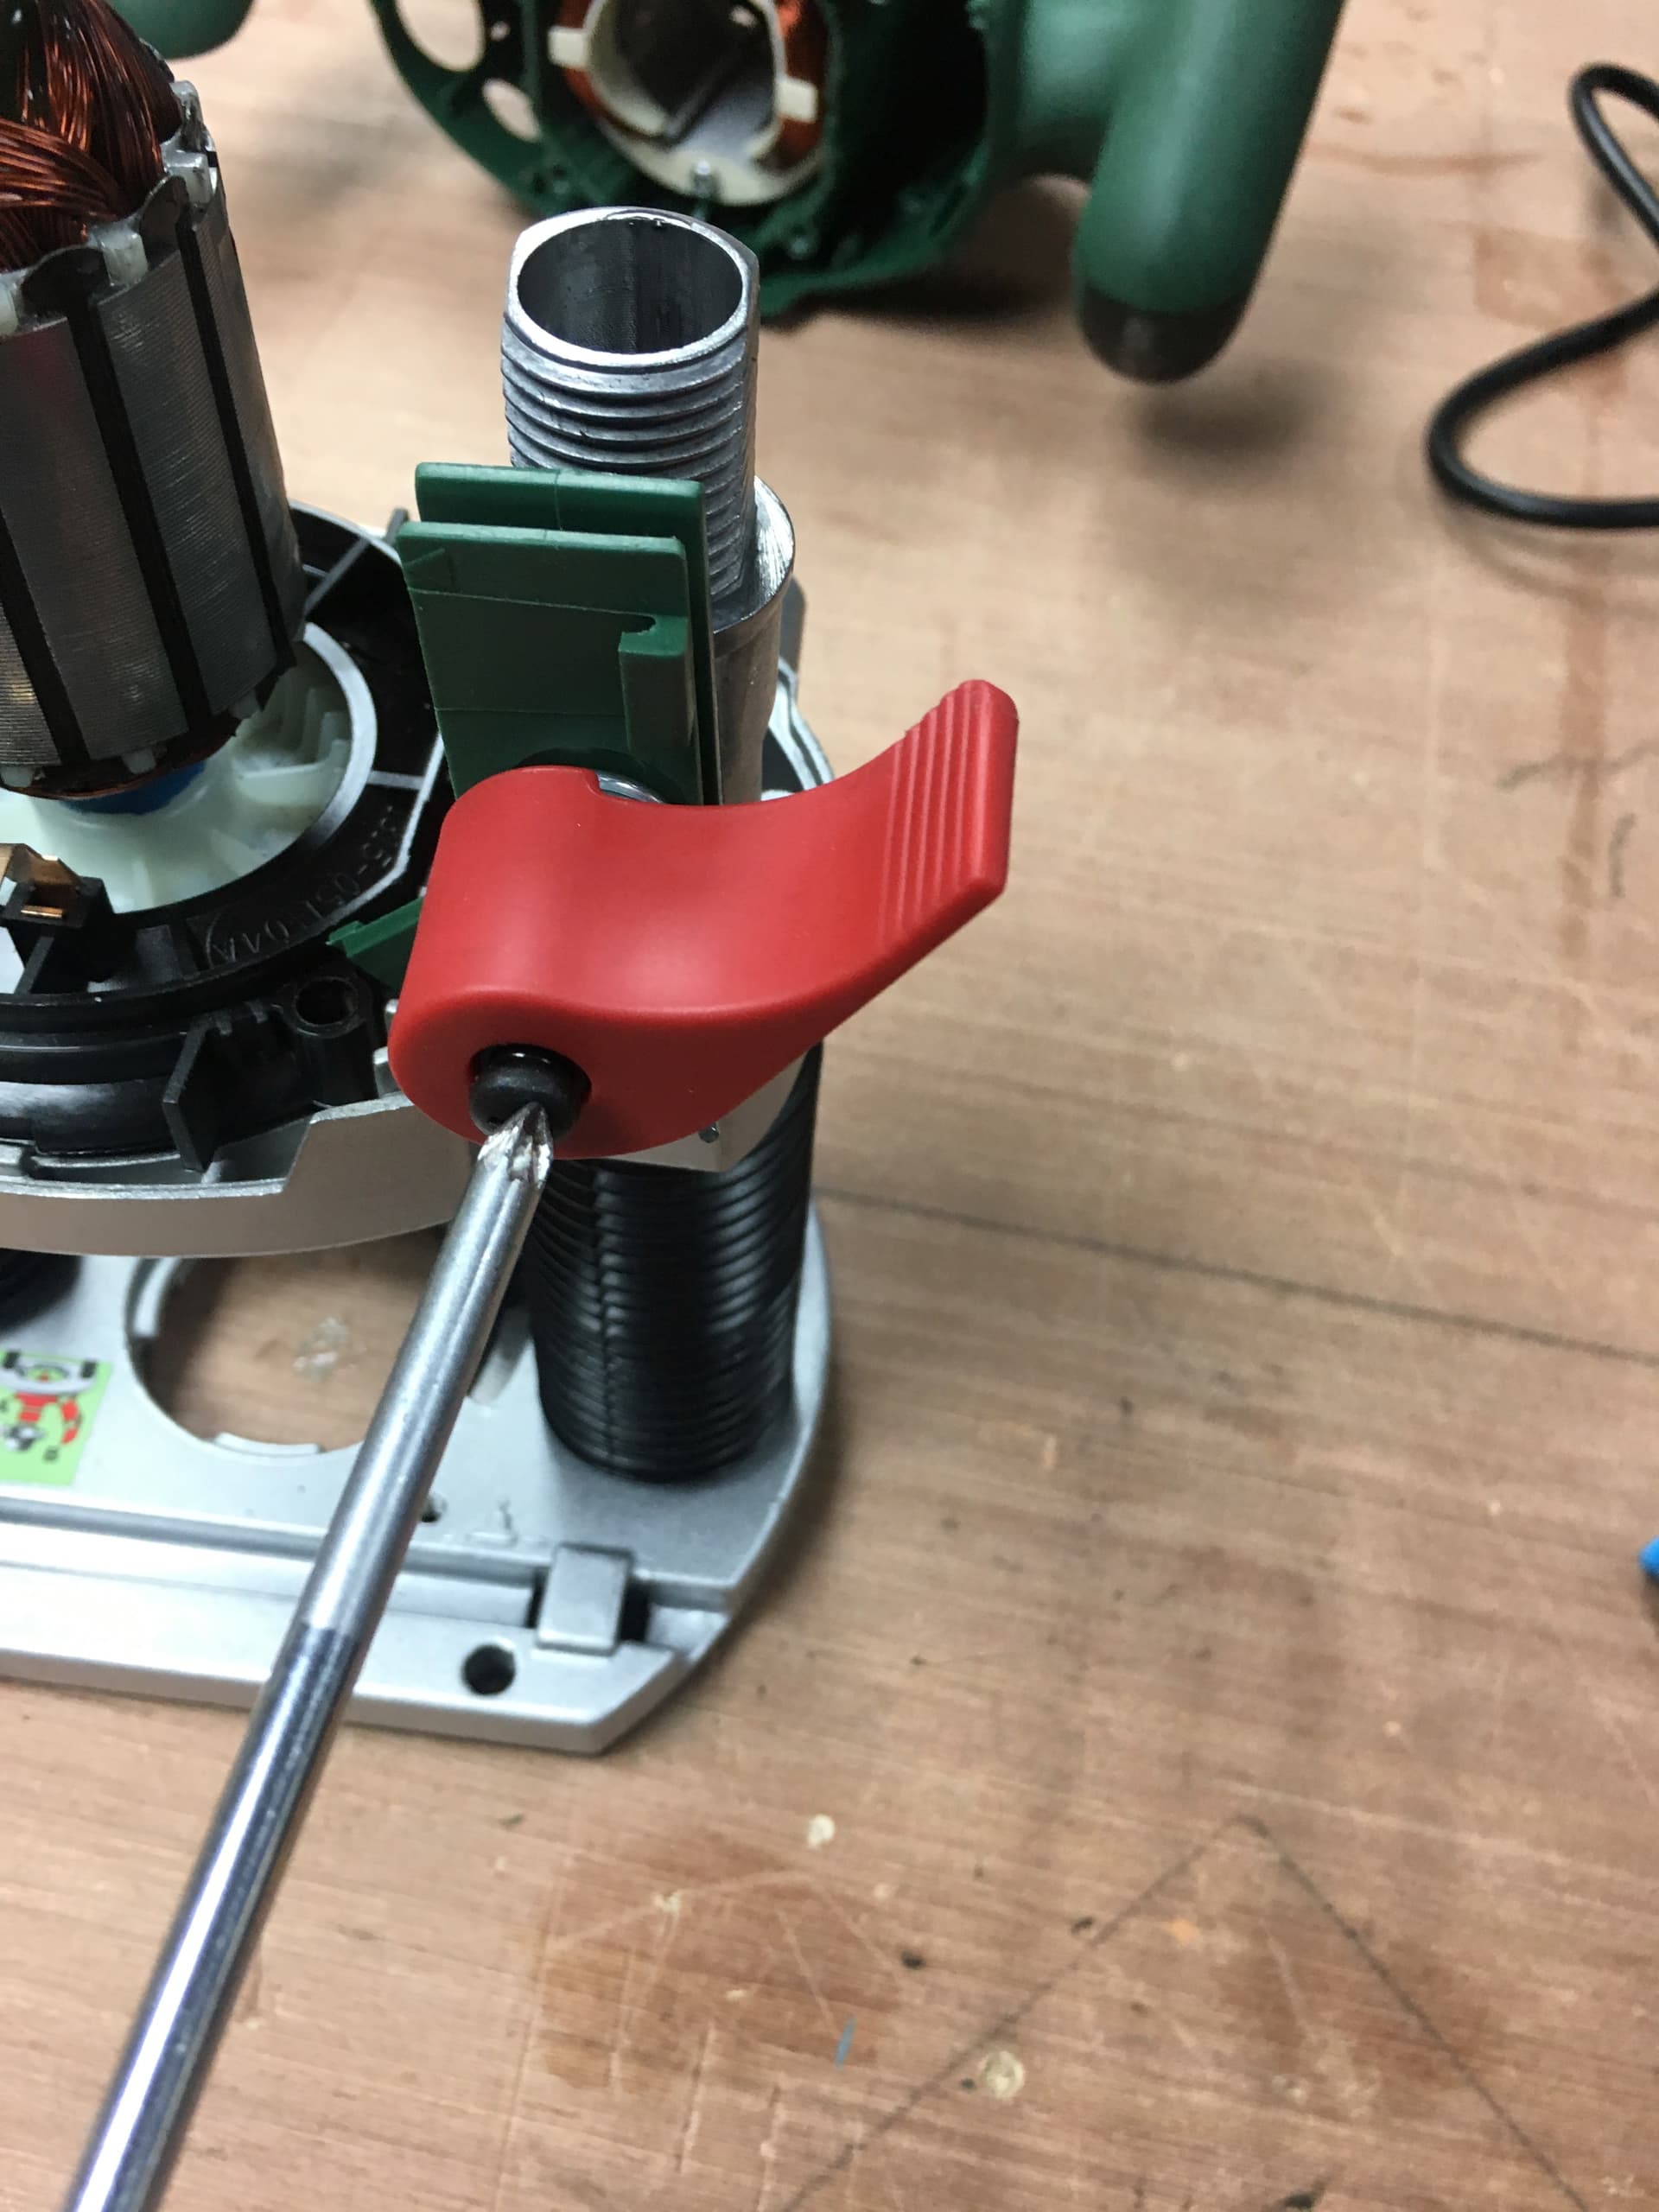
Use small screwdriver to hold in the spring loaded motor brush…
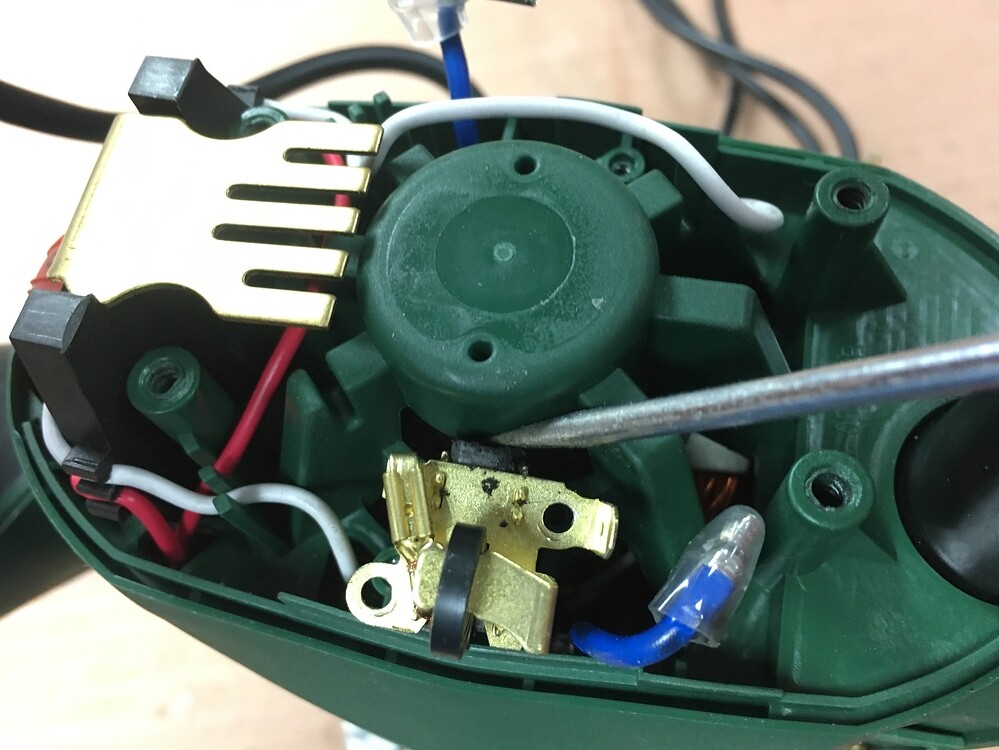
Pry out carefully…

Remove 4 x base screws…
Remove the hidden screw and adjacent screw…

Carefully separate parts…

Remove adjustment cone…

Remove the remaining screws…
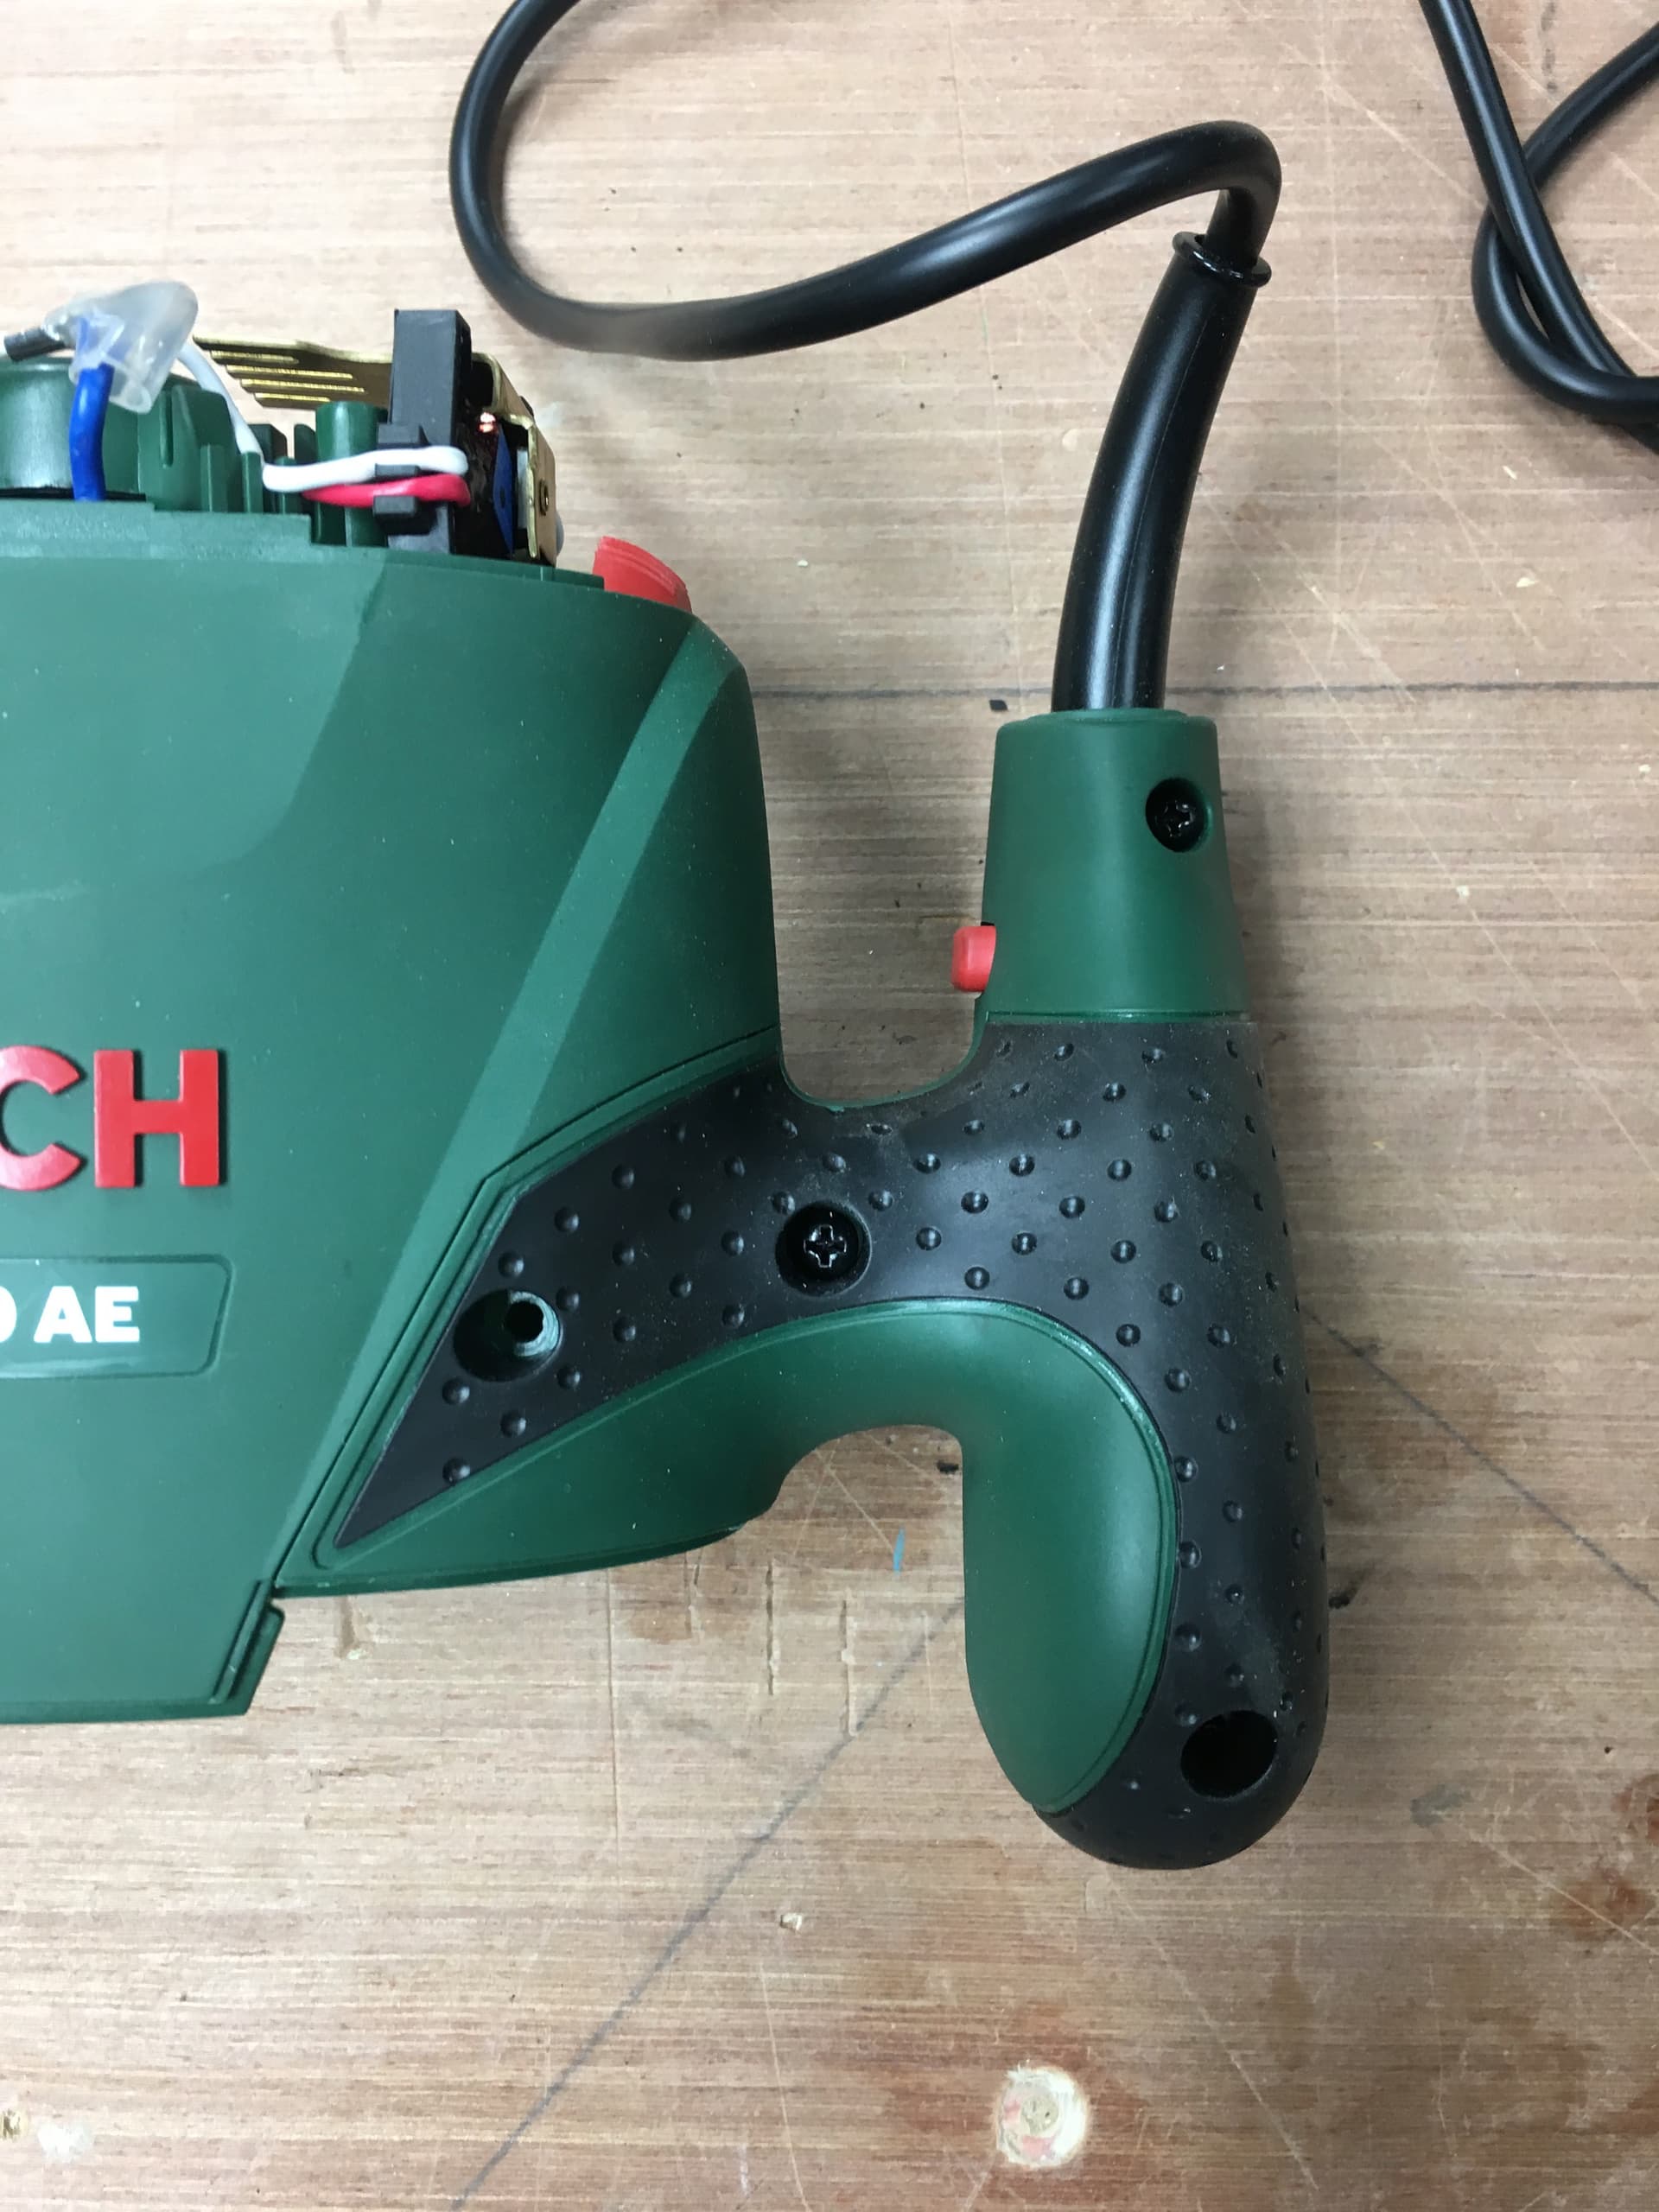
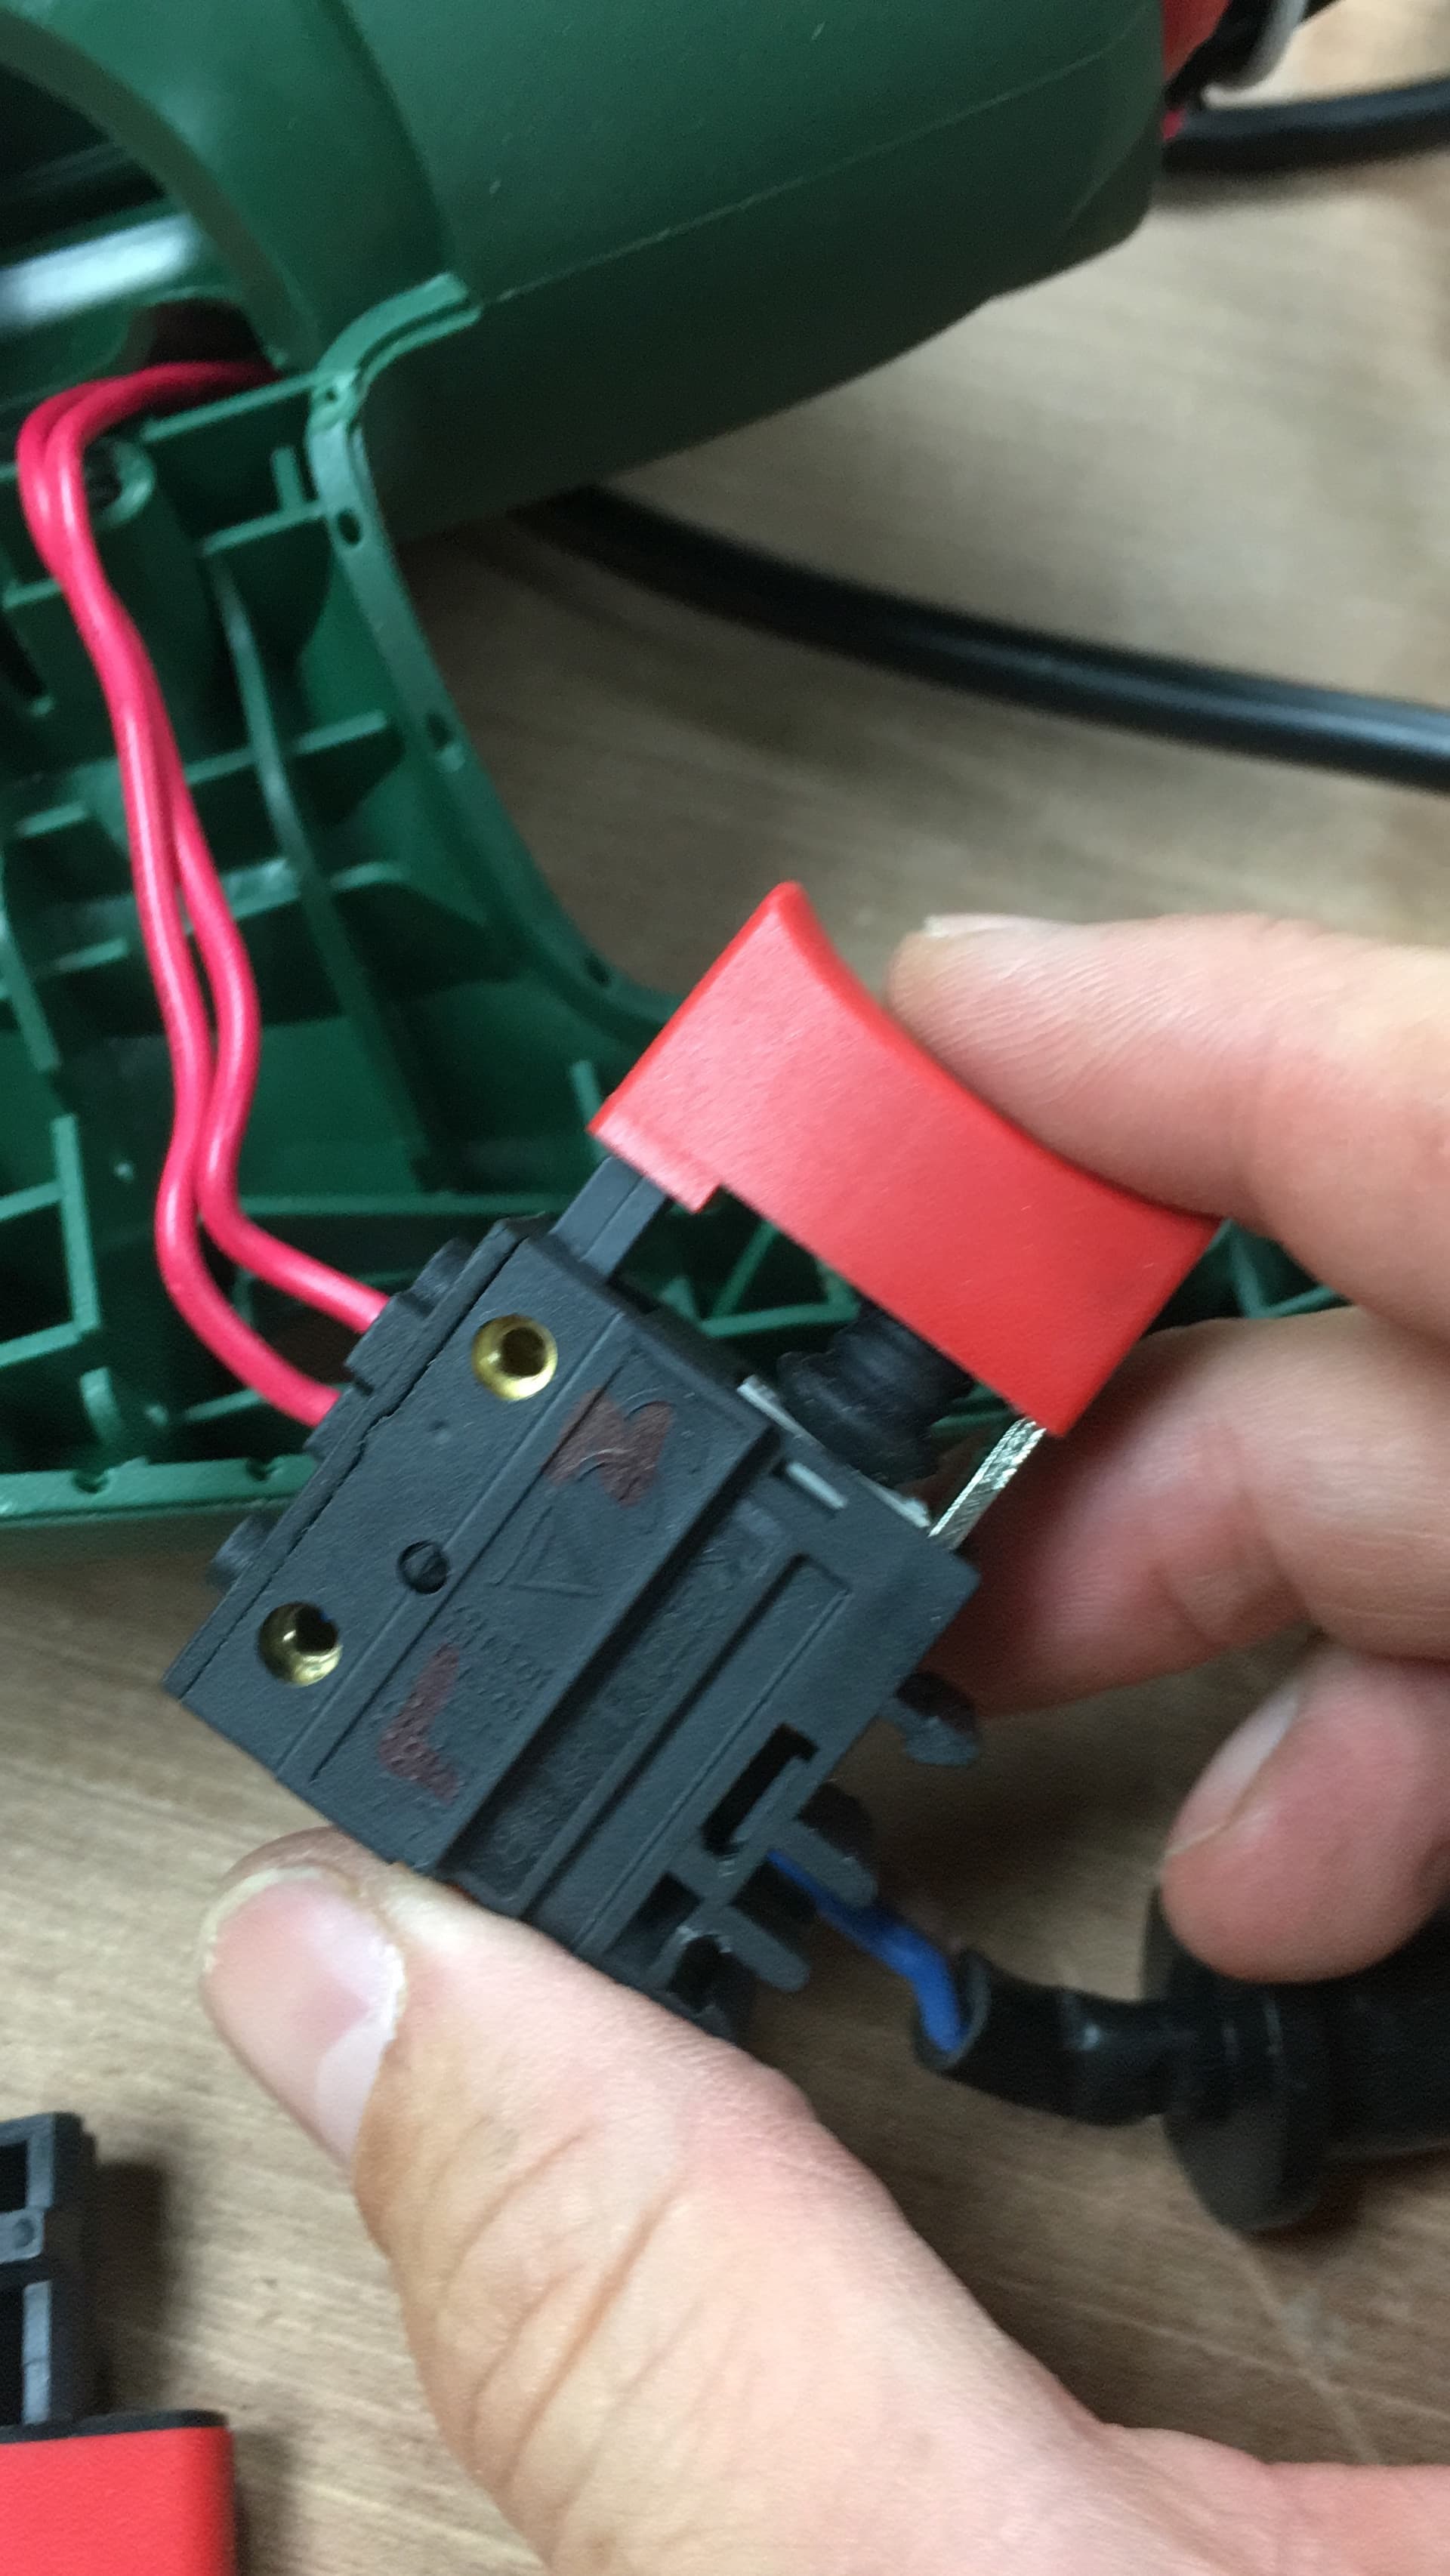
Pry open handle to expose trigger switch…
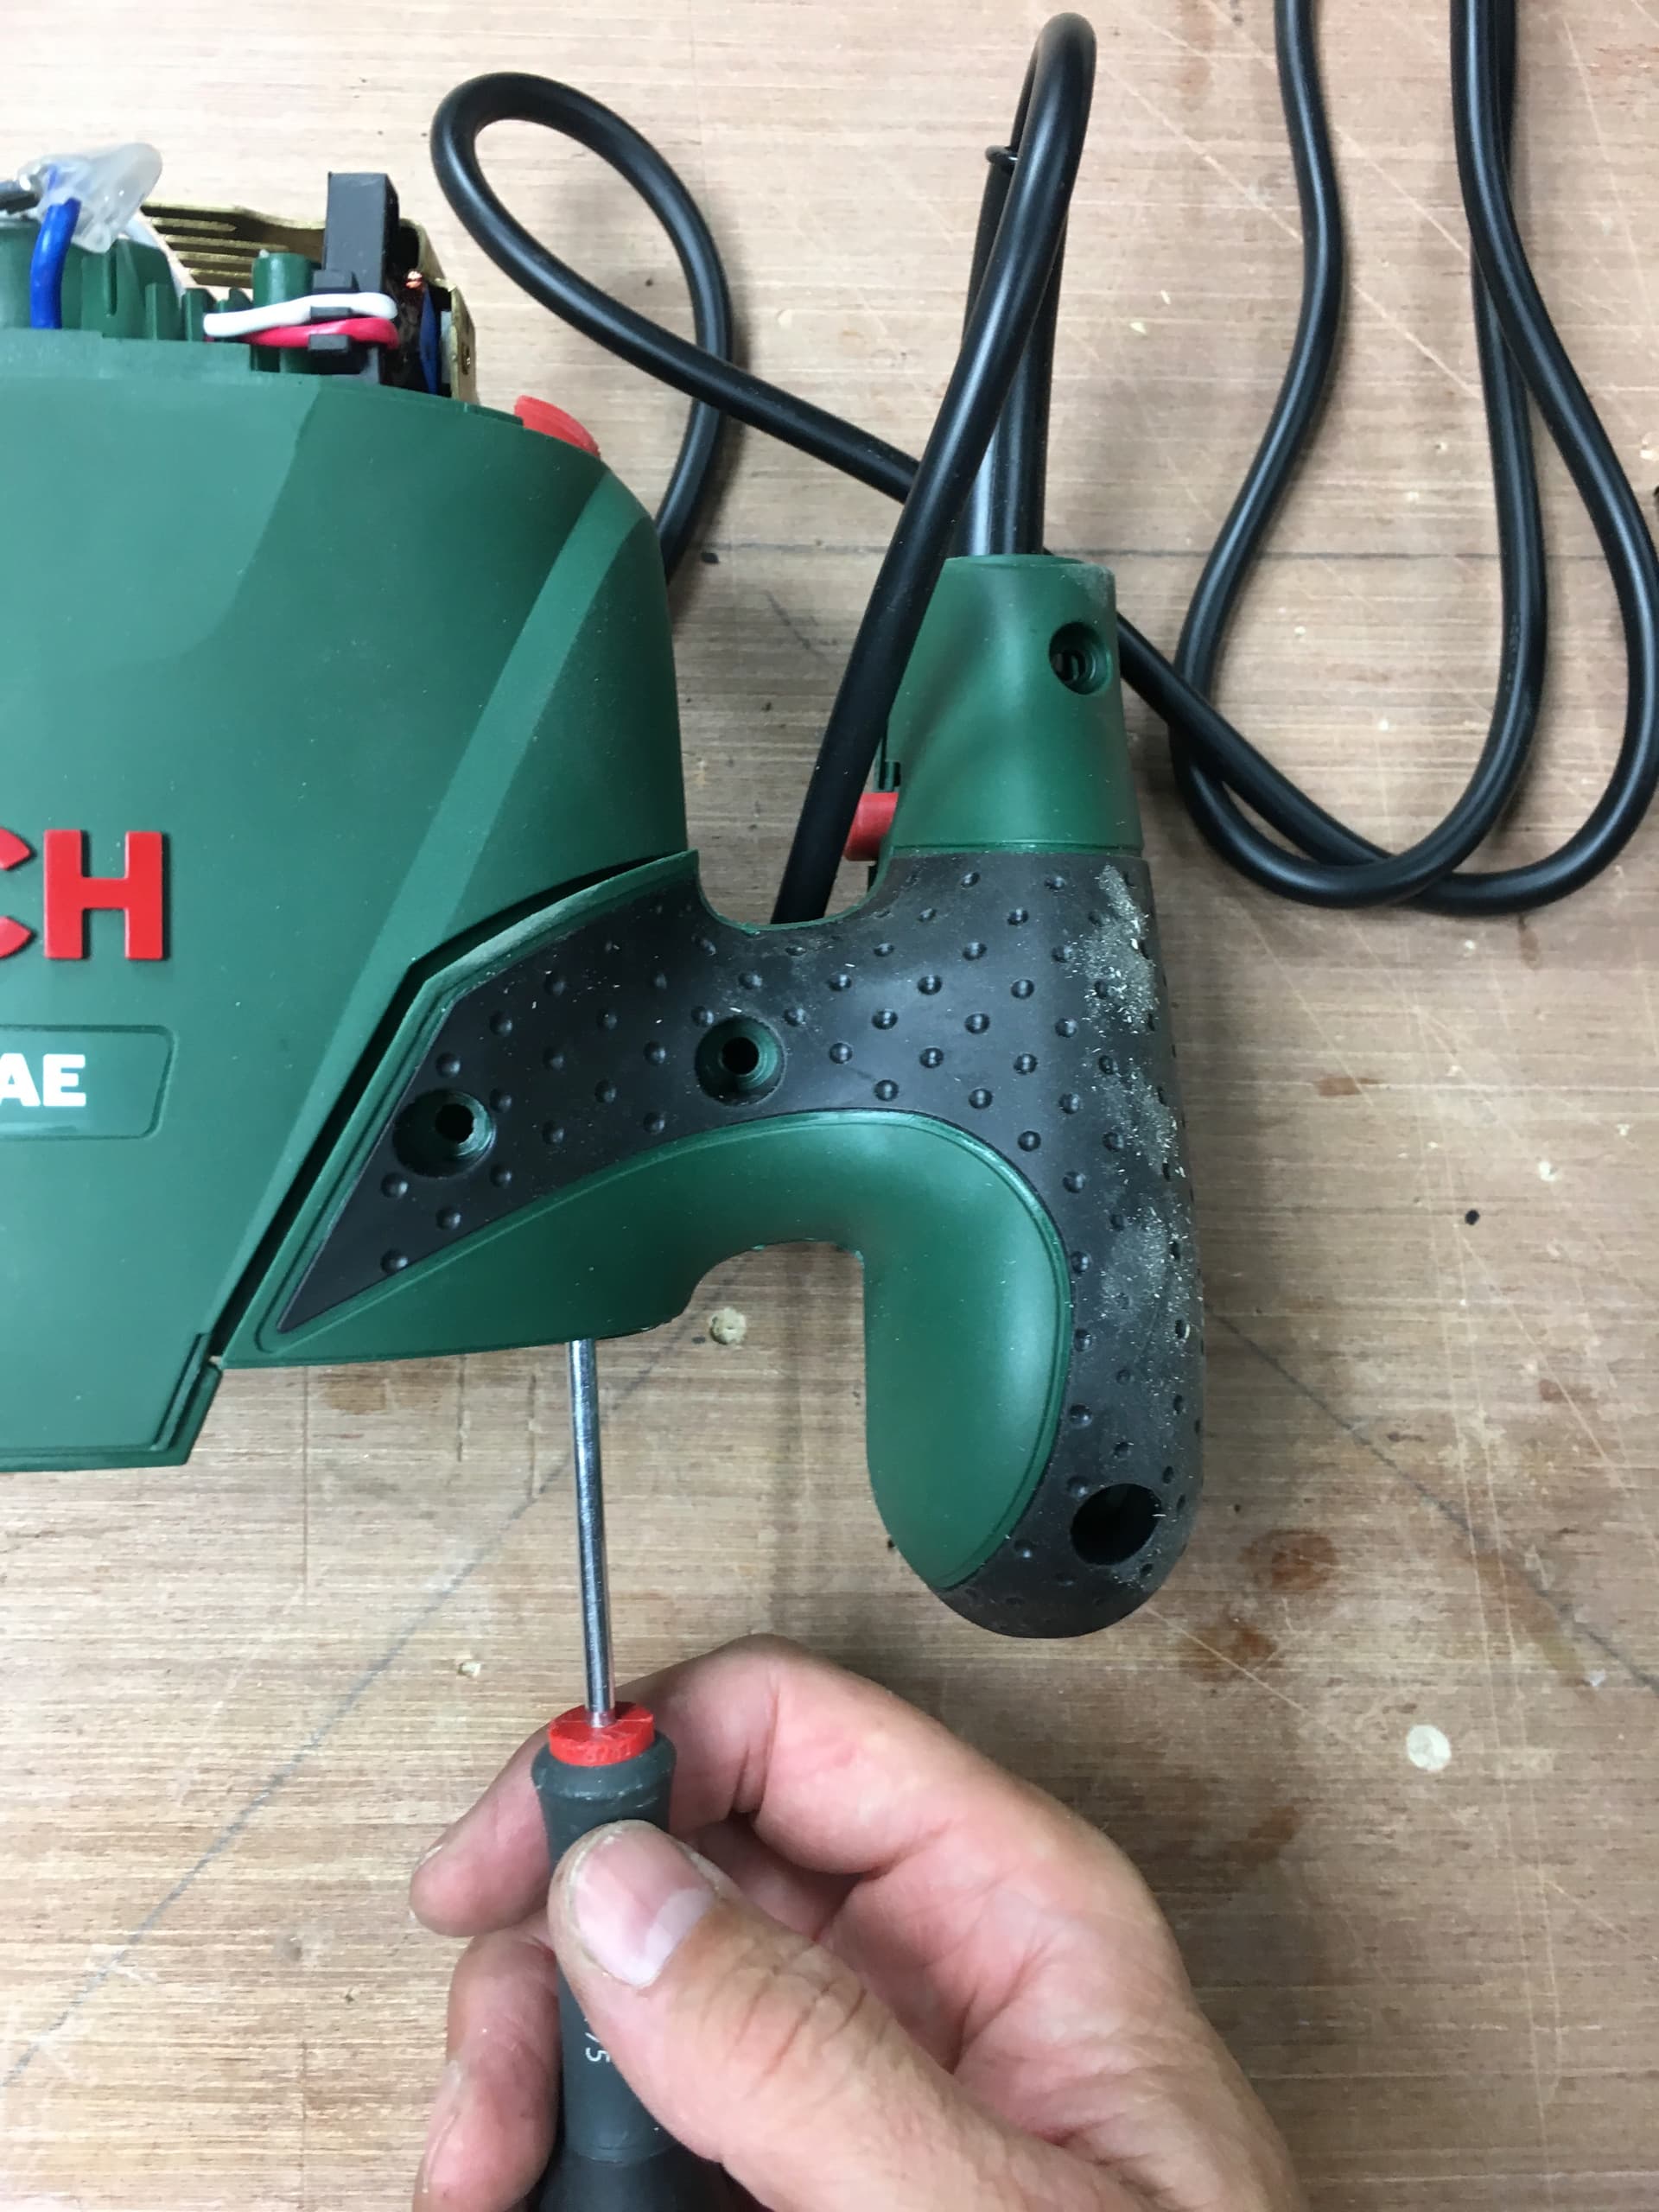
Remove 2 x screws…
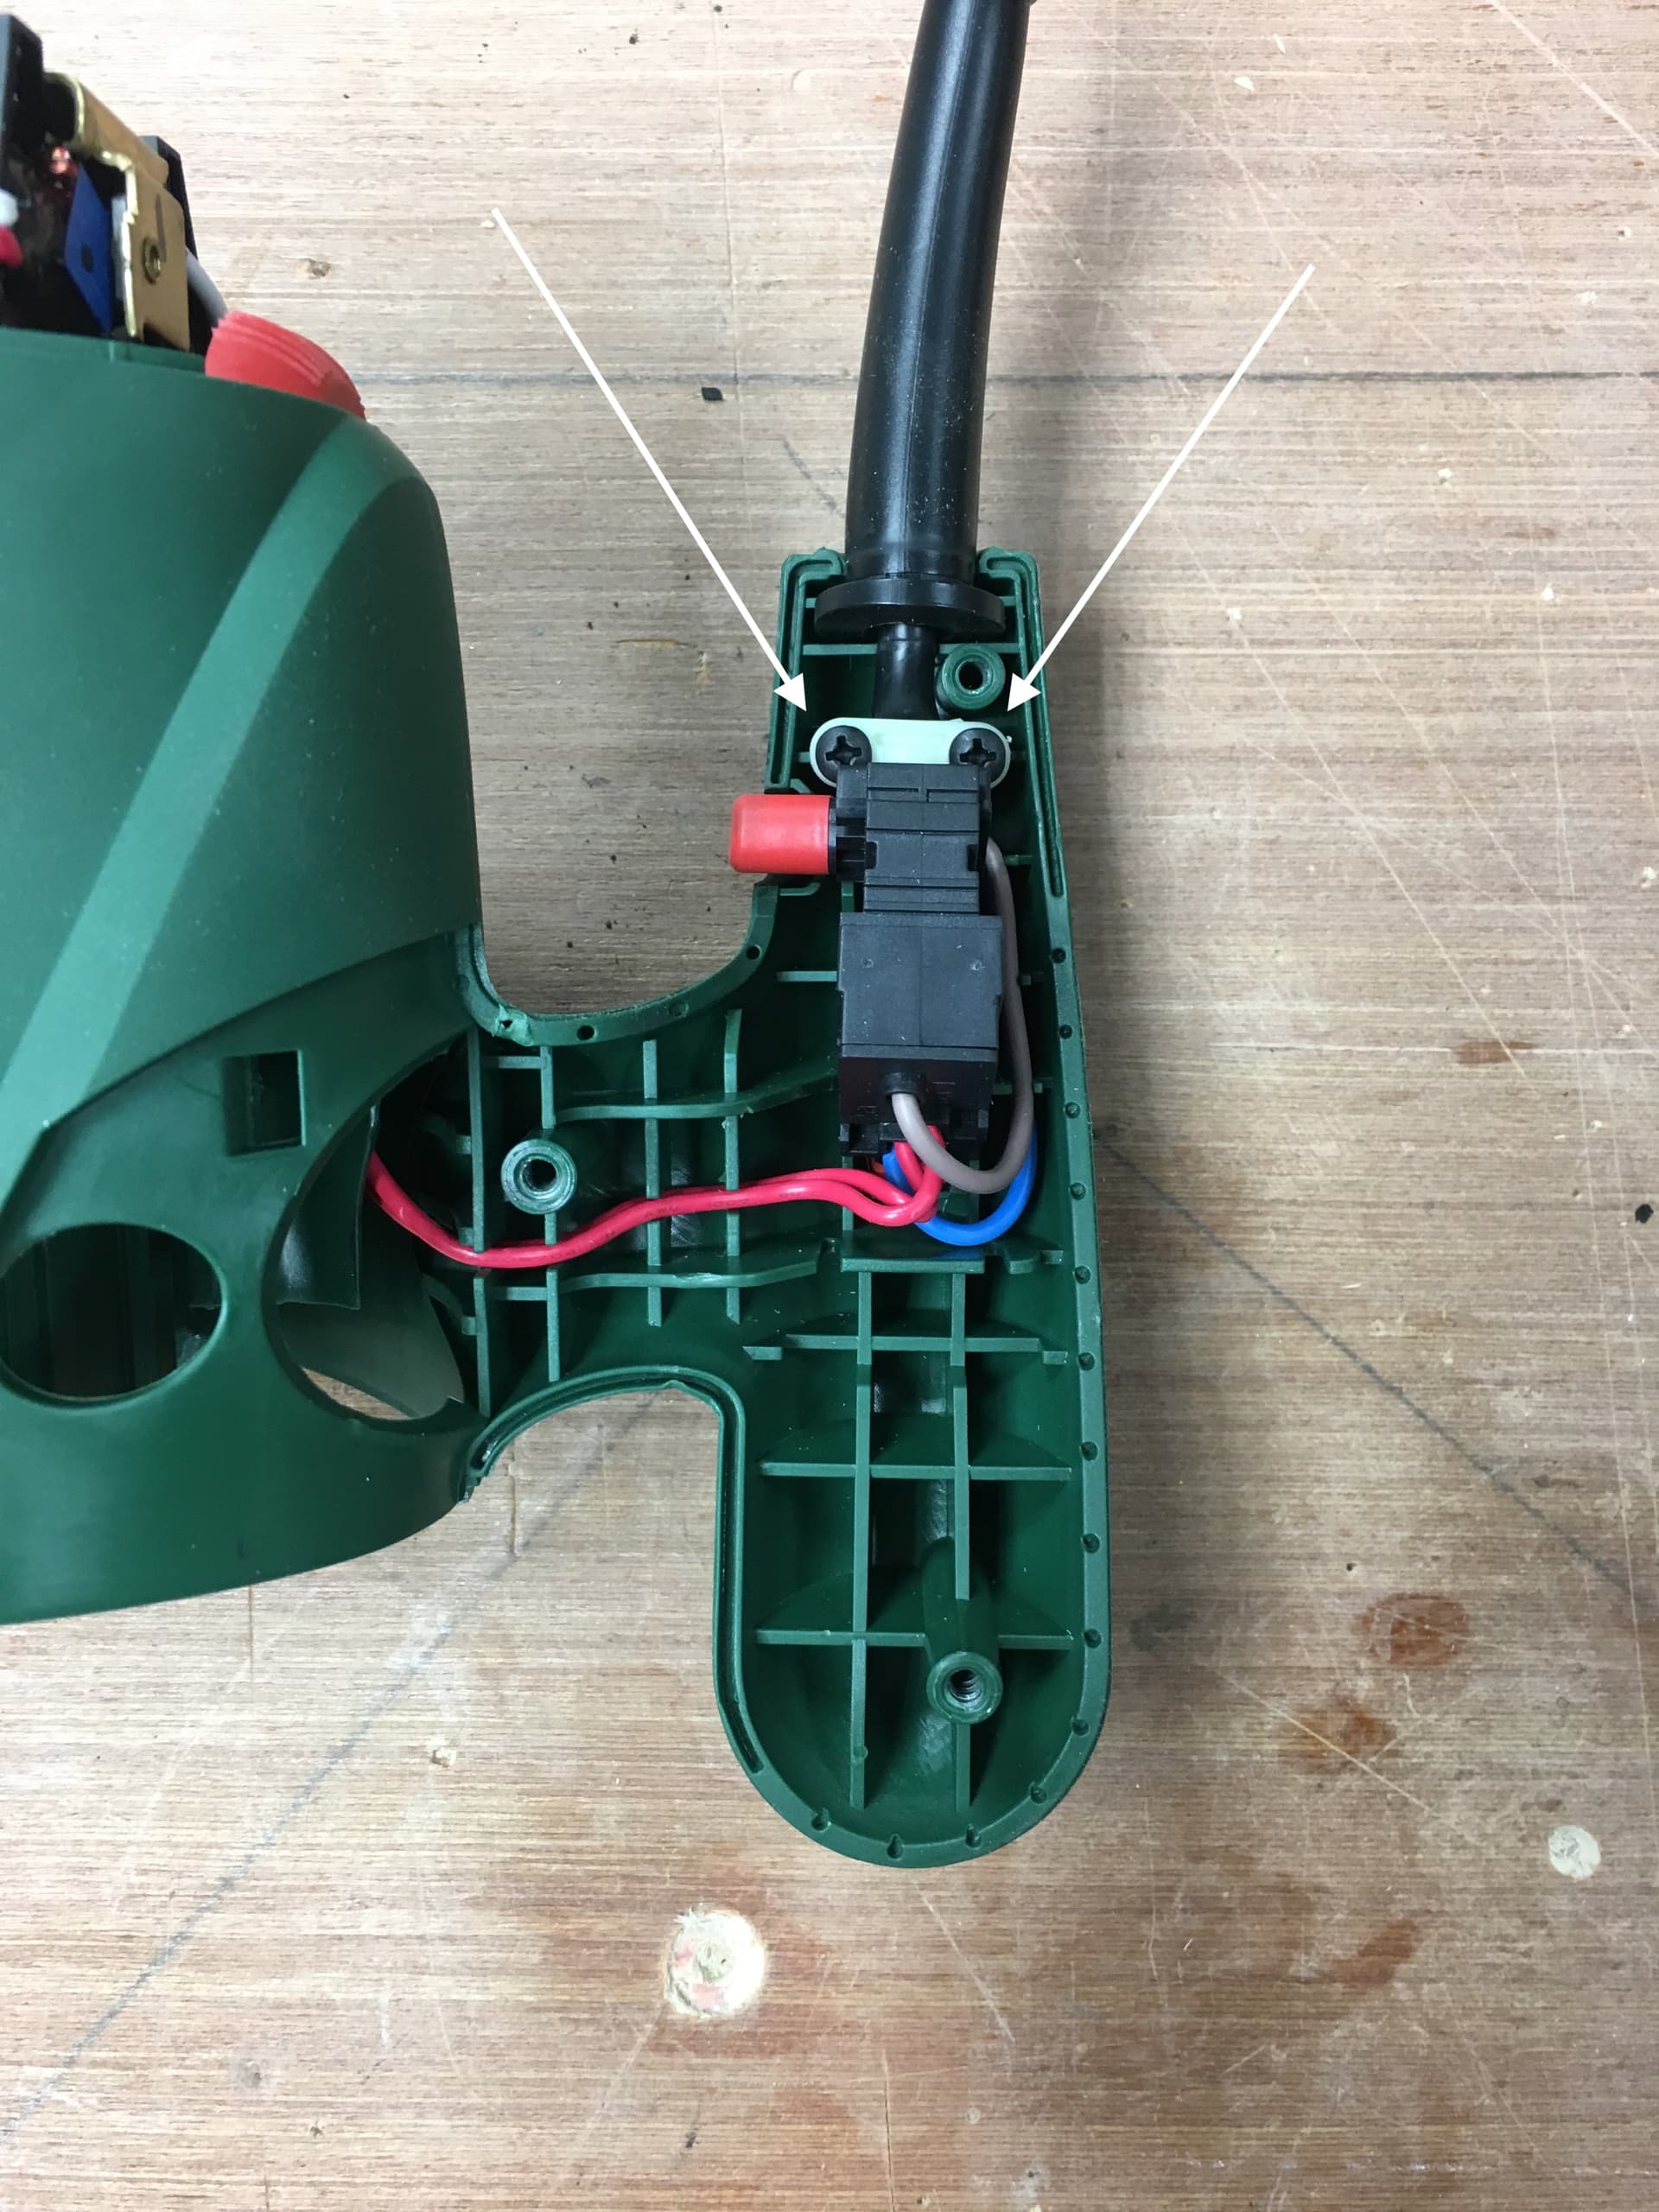
Pull out the trigger switch and move it out of the way…

Cut off the handle and tidy up the cut…

Remove small screws and take out live & neutral…

Cut remaining trigger switch wires (can be carefully removed by taking apart trigger switch, your choice)…
Remove screw…
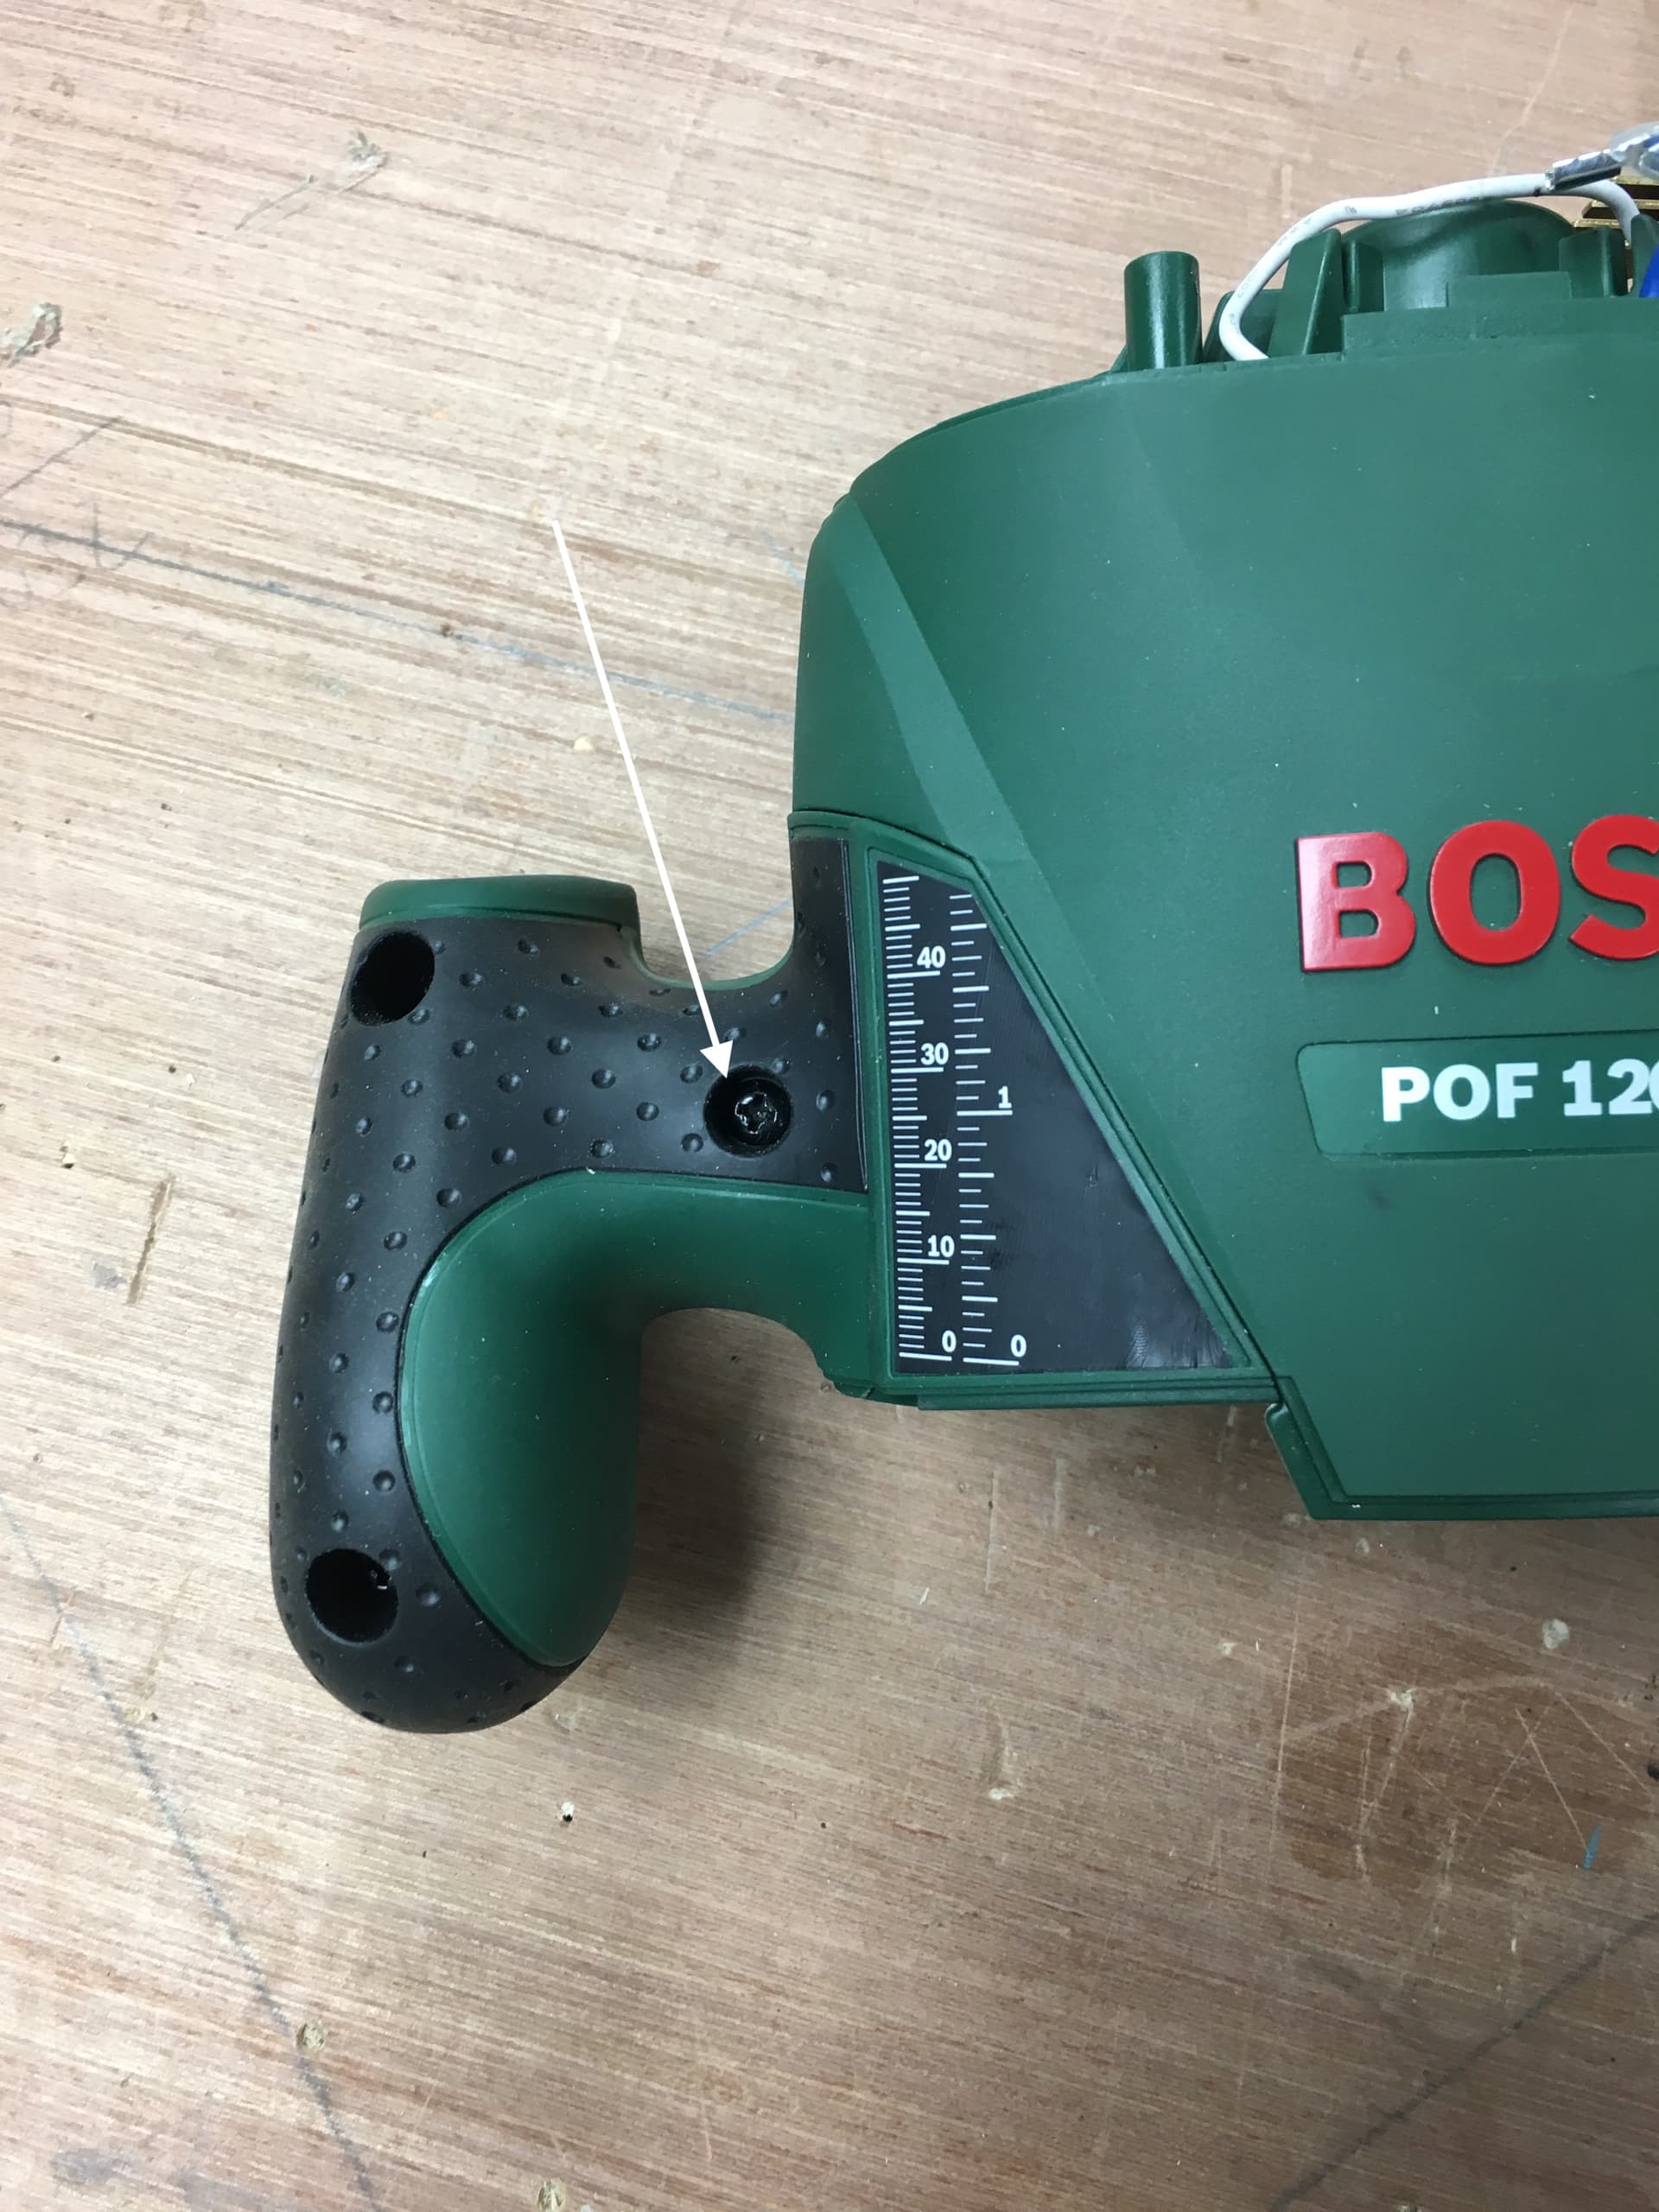
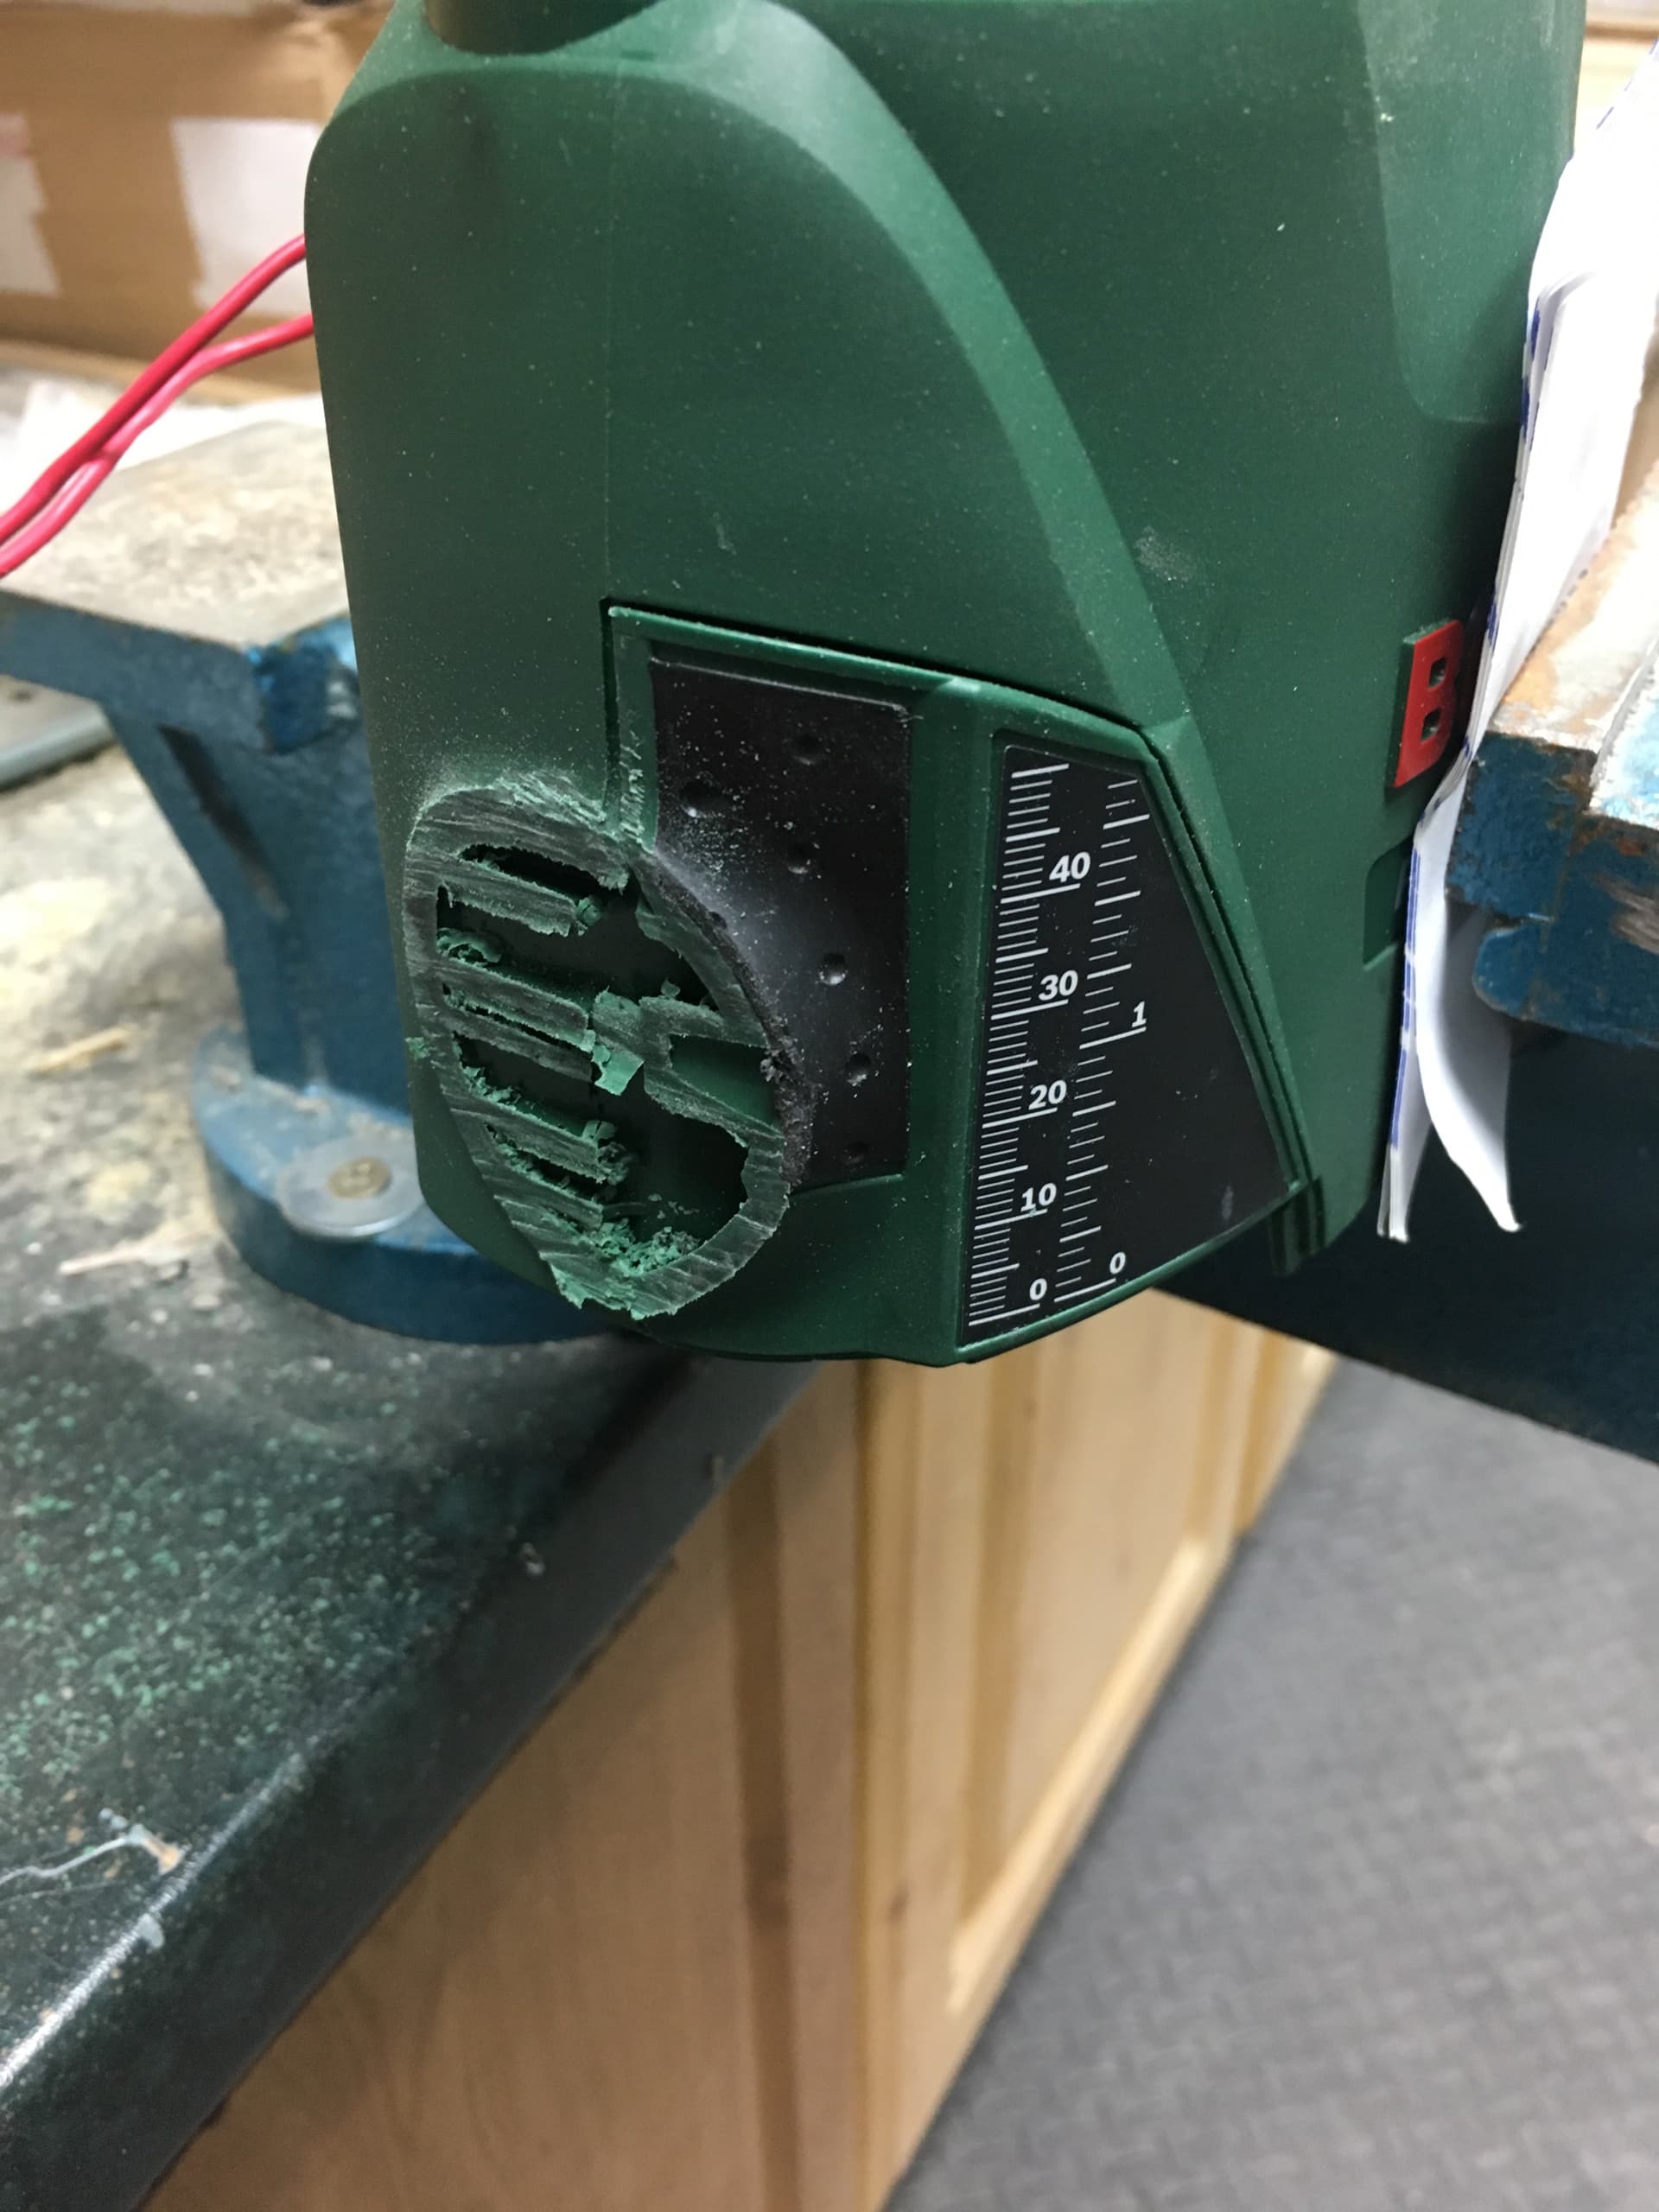
Cut off handle and tidy up the cut…
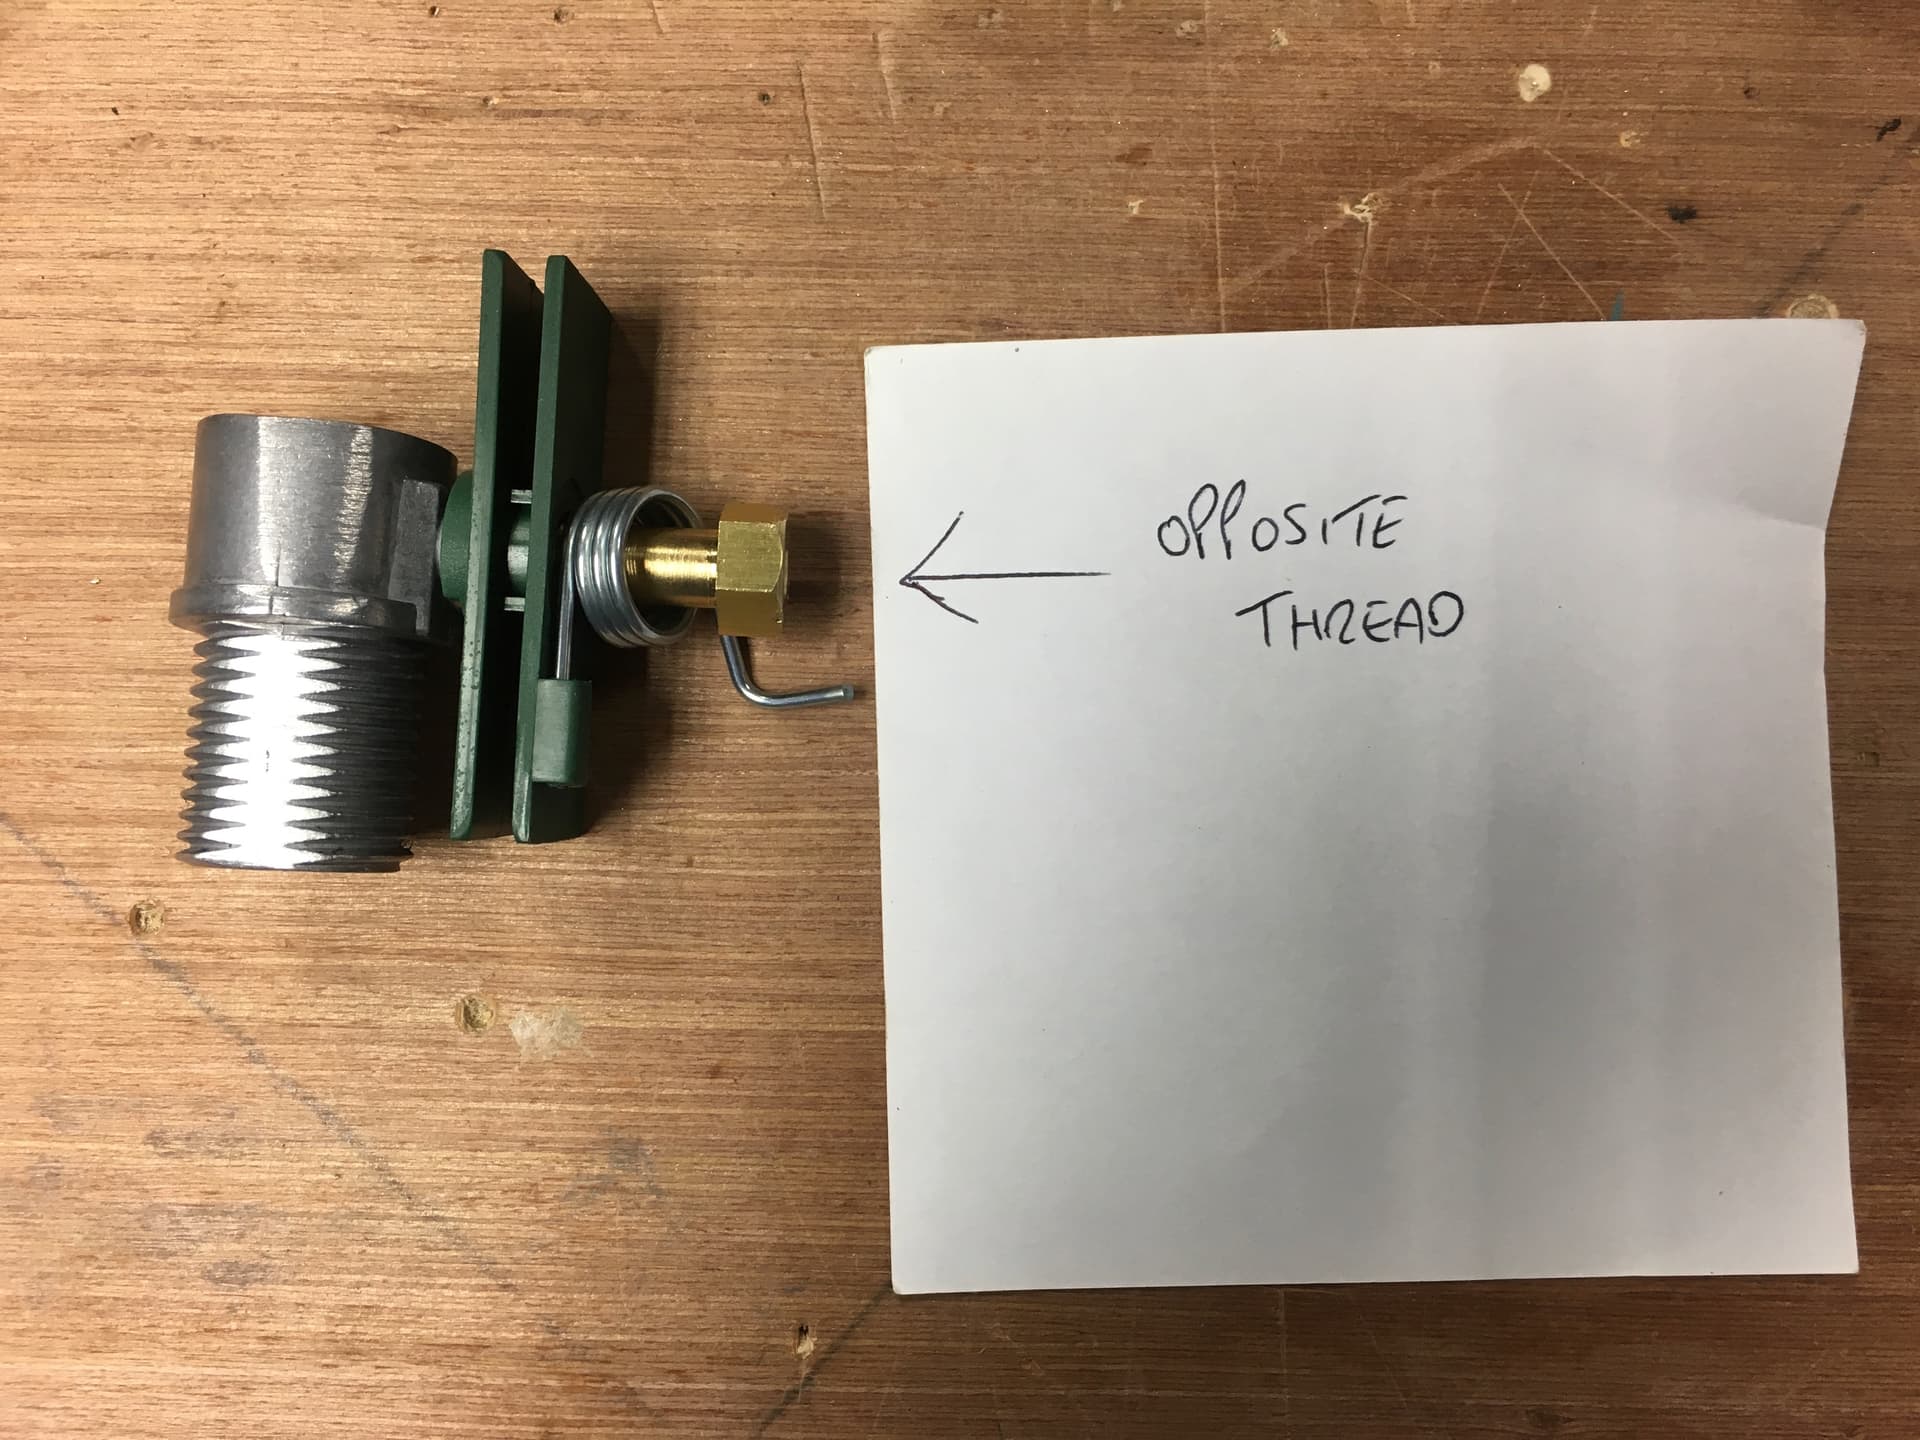
Remove the height adjustment lever lock screw…
The exposed nut is an opposite thread (right to loosen) remove assembly…
Rebuild blank plates before next step…
Progress so far…

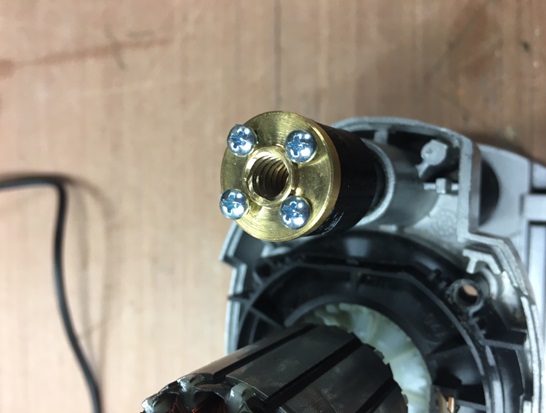
Now add the 3d printed part from the bosch kit

Now the nut
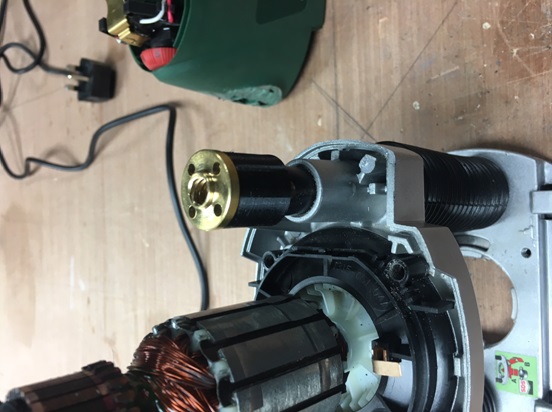
Now add the 4 screws. It might help to pre-drill these a bit with a very small drill. Don’t overtighten !!
Remark: in some cases the nut pops out when using the z-axis. Best to fix it to the shaft using small screws. Don’t drill through the cap and be sure to not clutch the shaft.
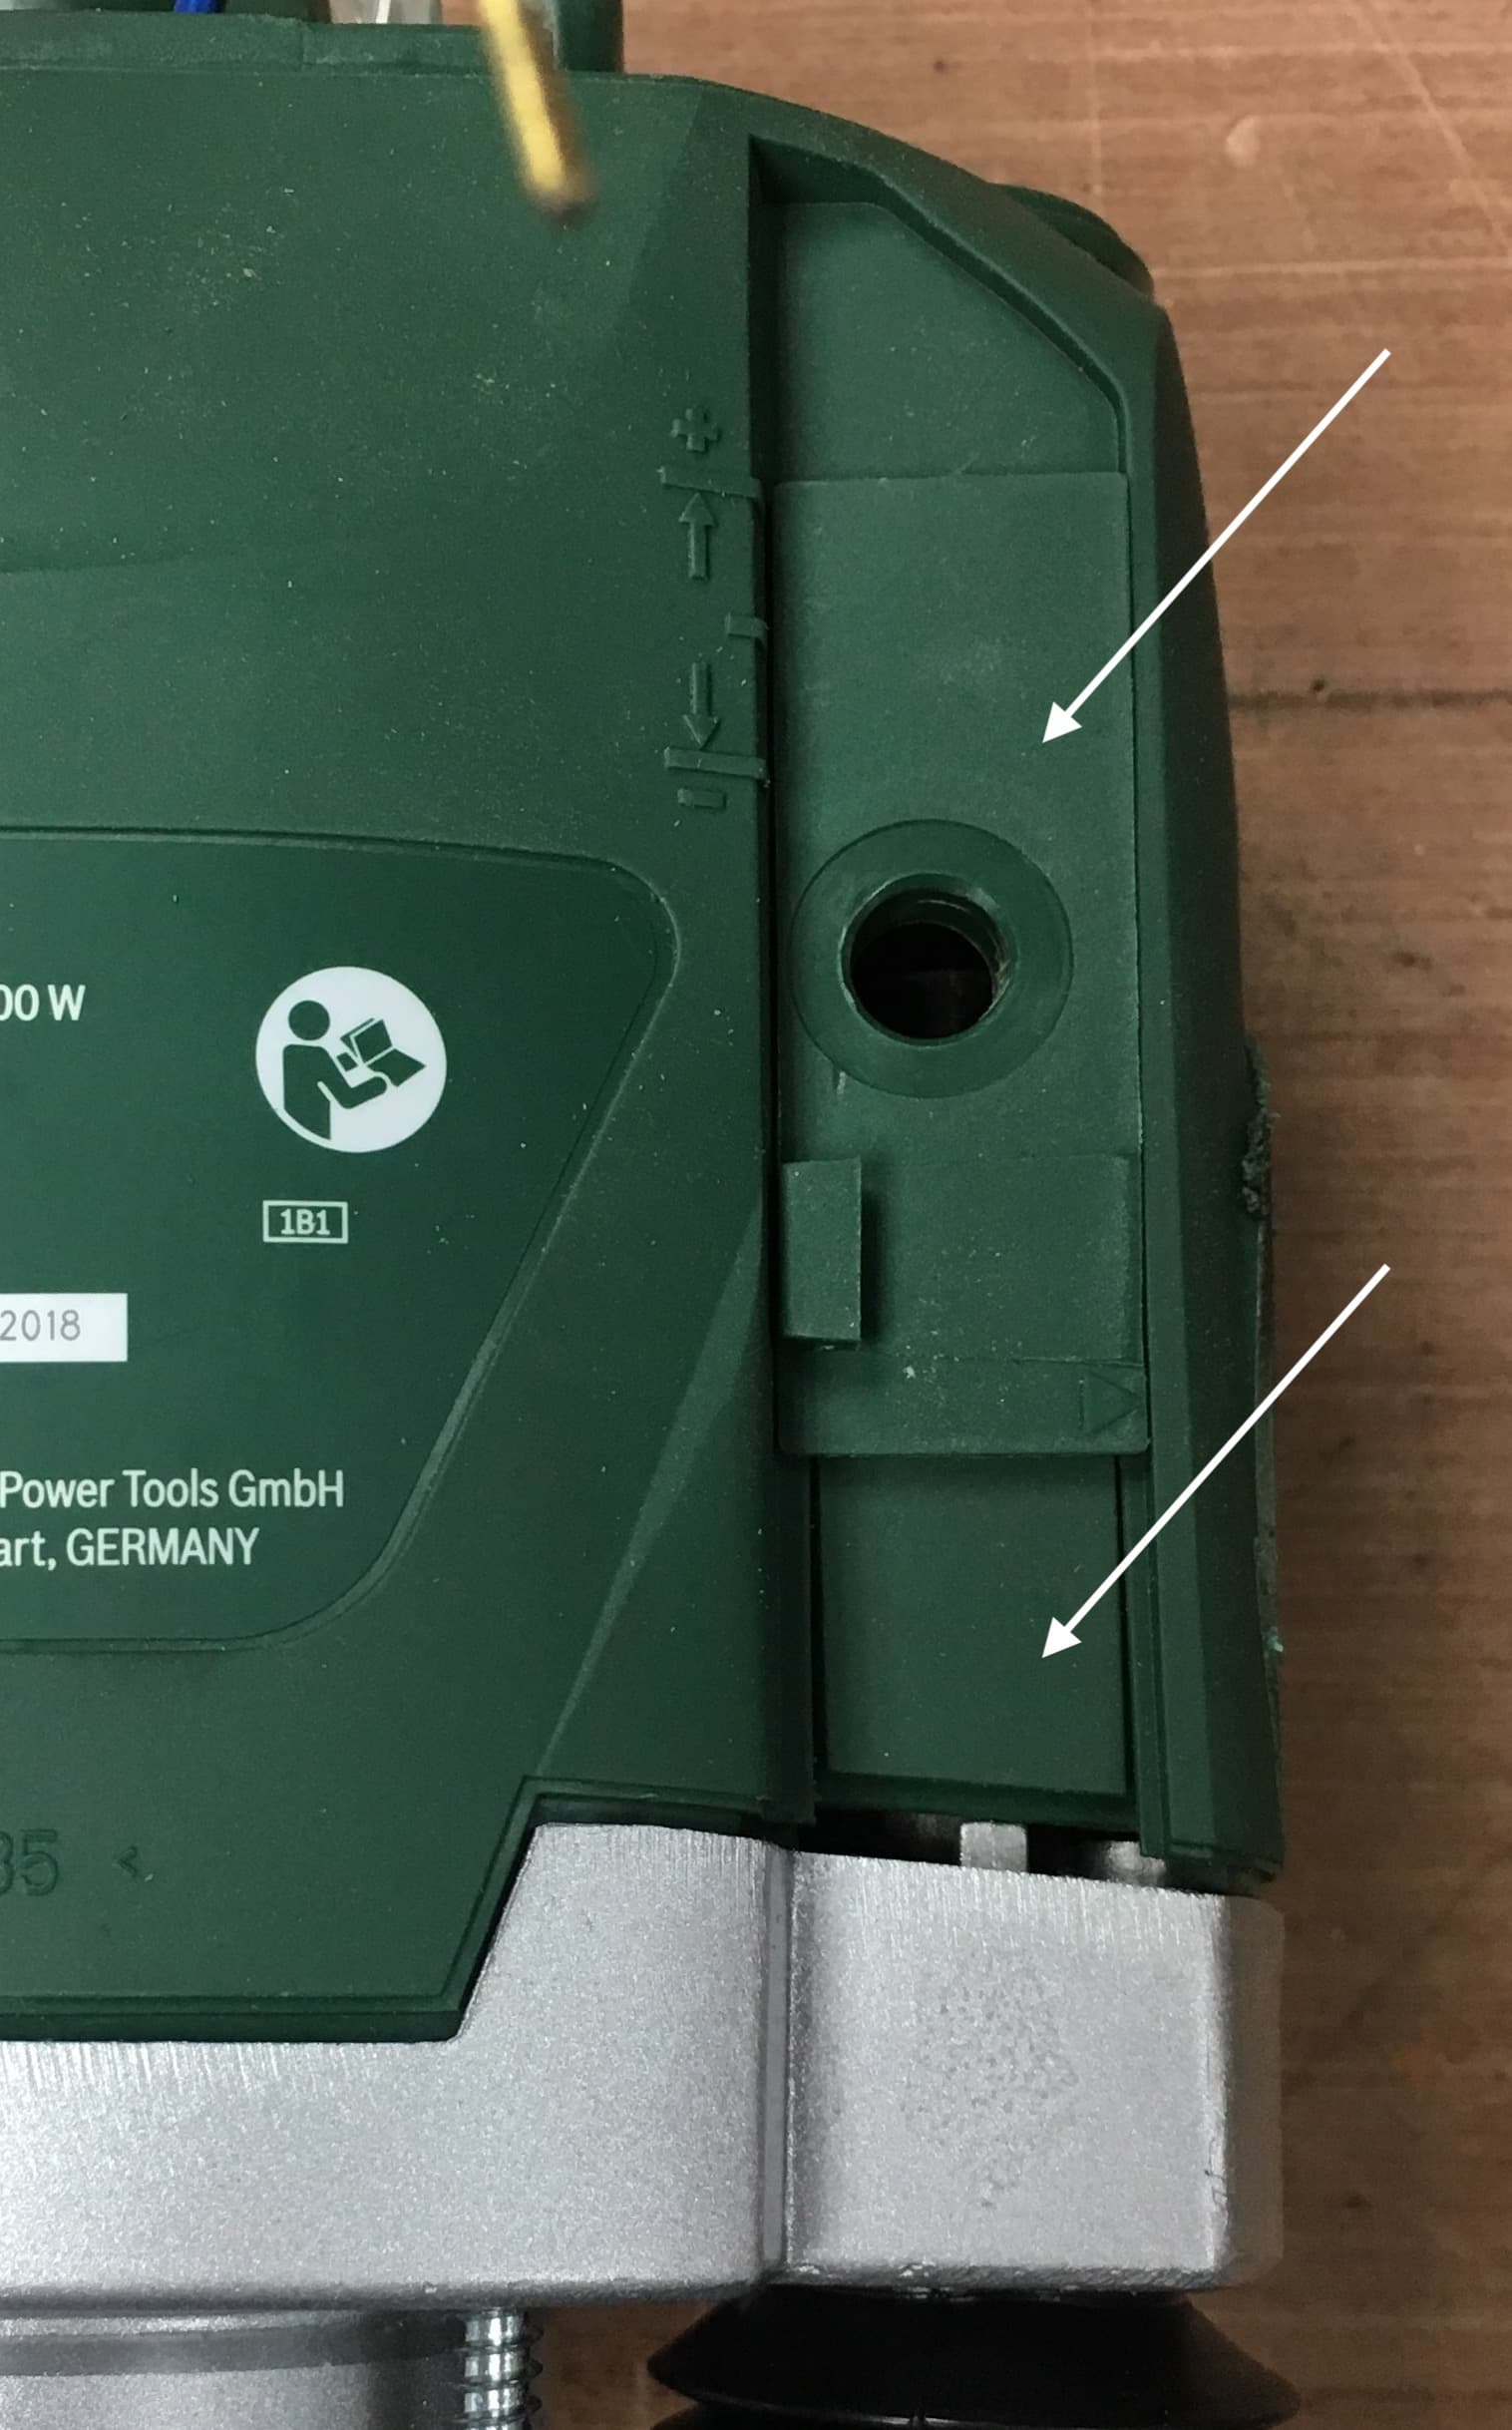
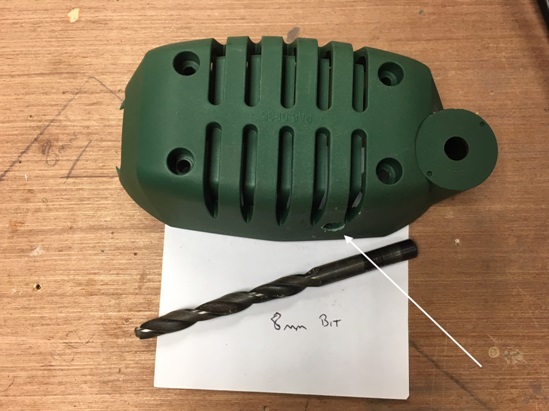
Drill a hole the power cord can go trough
Time to start rebuilding everything in the opposite order, you’ll figure it out
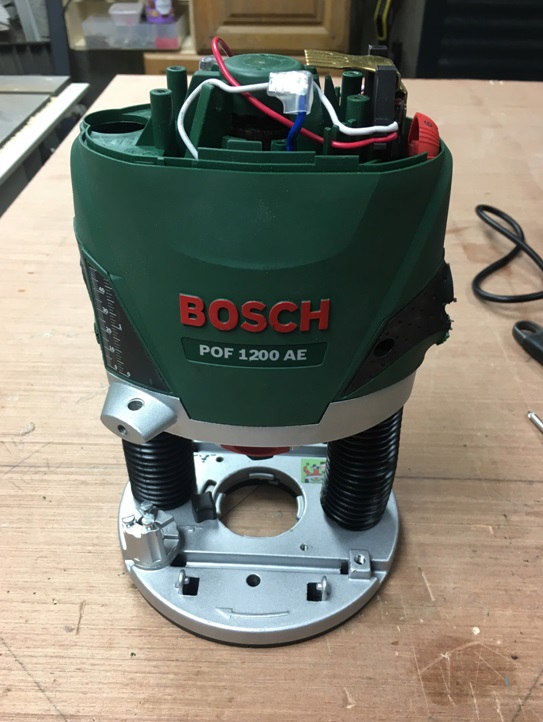
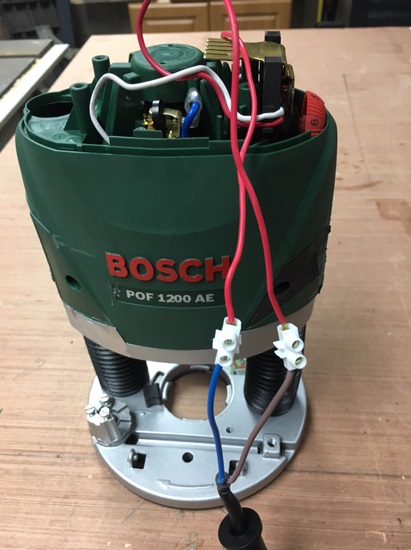
Connect the power cord, polarity doesn’t matter.
Refit the motor brushes, carefully, if you chip them, they’ll still work, but wear out much faster. and you’ll allready be abusing the router way more then it was designed for.
Find a nice spot to place the power connector, make sure that hole stays clear for the acme screw to pass later.
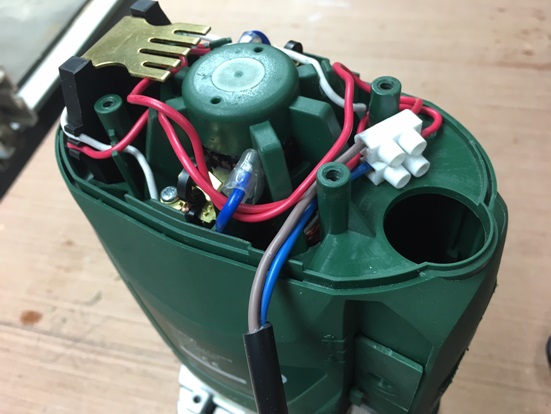
Refit the cover. It is a good idea to put a ty-rap around the cable on the inside so that the cable doesn’t come out when it gets pulled.
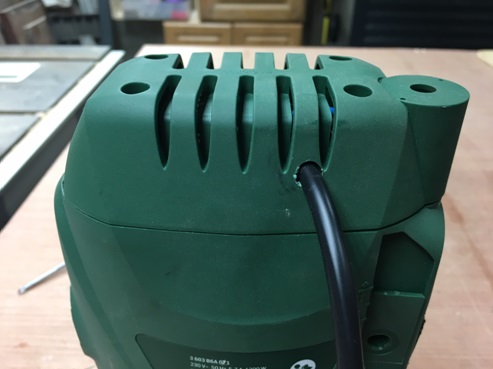
Time to find your hacksaw and cut off another piece.

Voila

Now to assemble the top mount.
First mount the motor on the plate with the screws provided in the Maslow box

Next install all the parts as shown in the photo. A bit of glue between the parts won’t hurt, the part gets a lot of tortion, and might require retightening later on.
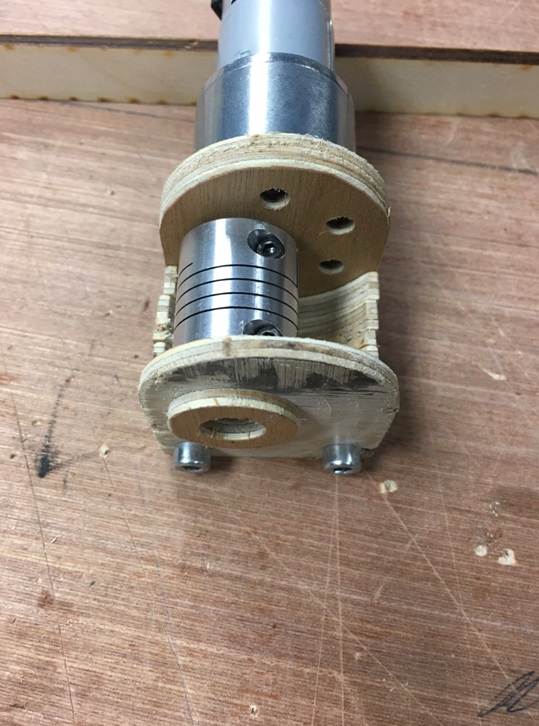
Make sure the coupler is just barely touching the plate on the side of the acme screw, that way you’re not puling apart your coupler.

Now just screw the top part into the router, connect to groundcontrol so you can raise and lower it, and start making beautiful things.
Now all that’s left is changing the pitch in the settings of groundcontrol from -3.17 to -8 and you should be done.
